Part 1: Getting Started With Blender
Blender 4: Your Complete Beginner's Guide to 3D

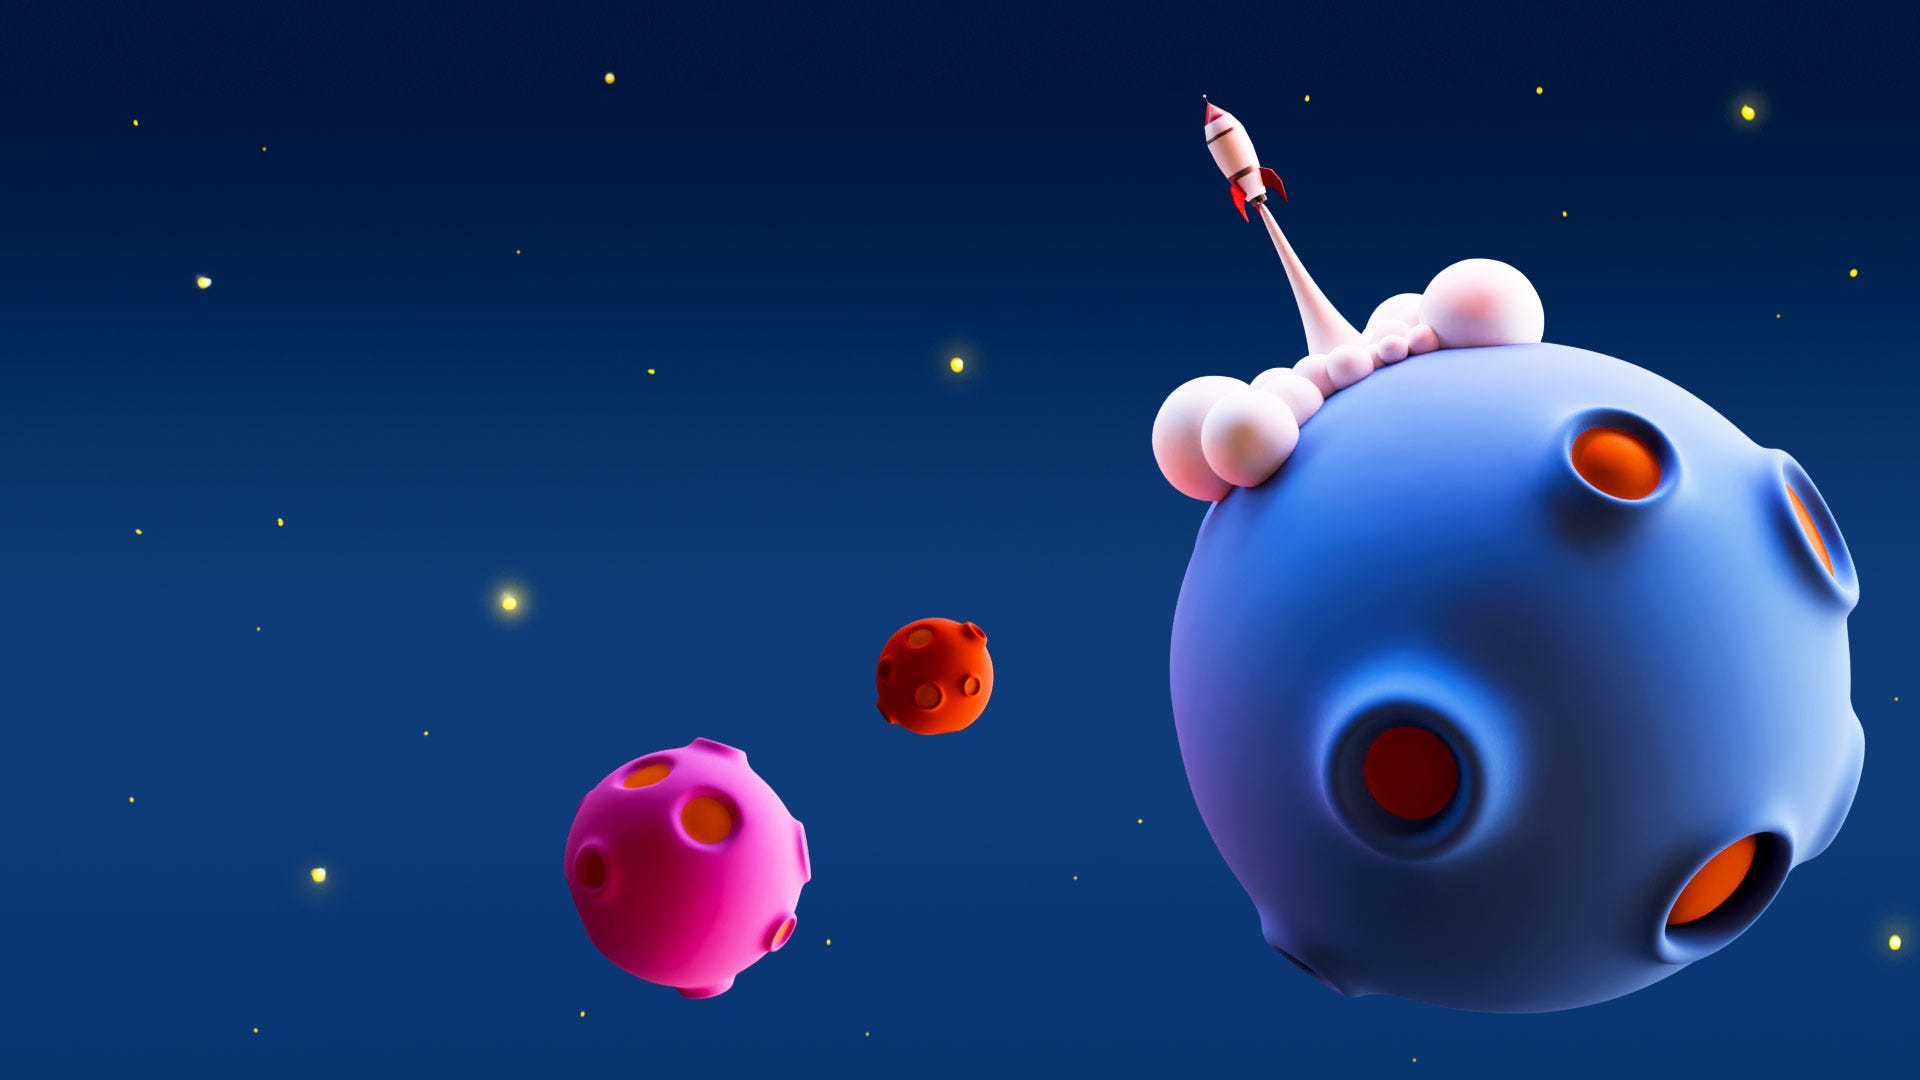
Welcome to the exciting world of 3D creation! This comprehensive guide is designed to take complete beginners through their first steps in Blender 4, the powerful open-source 3D software. We'll start from the very beginning, covering everything from navigating the interface and adding objects to applying materials and understanding render settings. By the end, you'll have the skills to build a fun planetary scene and be well on your way to creating your own 3D art.
Part 1: Getting Started: Downloading Blender 4
The first thing you'll need to do is download Blender.
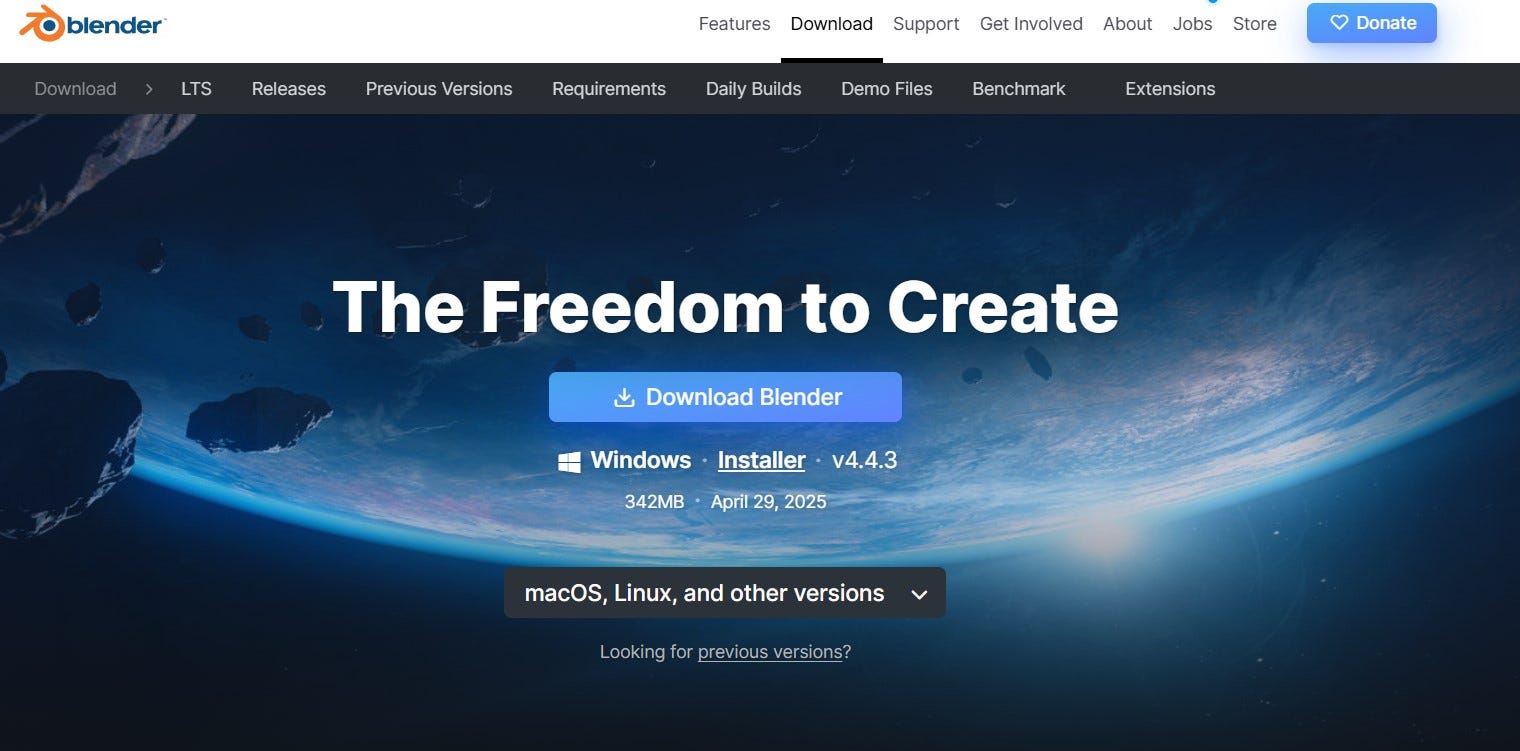
Head over to blender.org in your web browser.
On the front page, you'll find a prominent Download option for the latest version.

If you need specific versions for Mac, Linux, or other systems, you can find them in the dedicated download section of the website.
Blender is constantly evolving. If anything in this guide appears slightly different in a newer version of the software, be sure to check the video's description for any update notes.
Understanding the Blender Interface
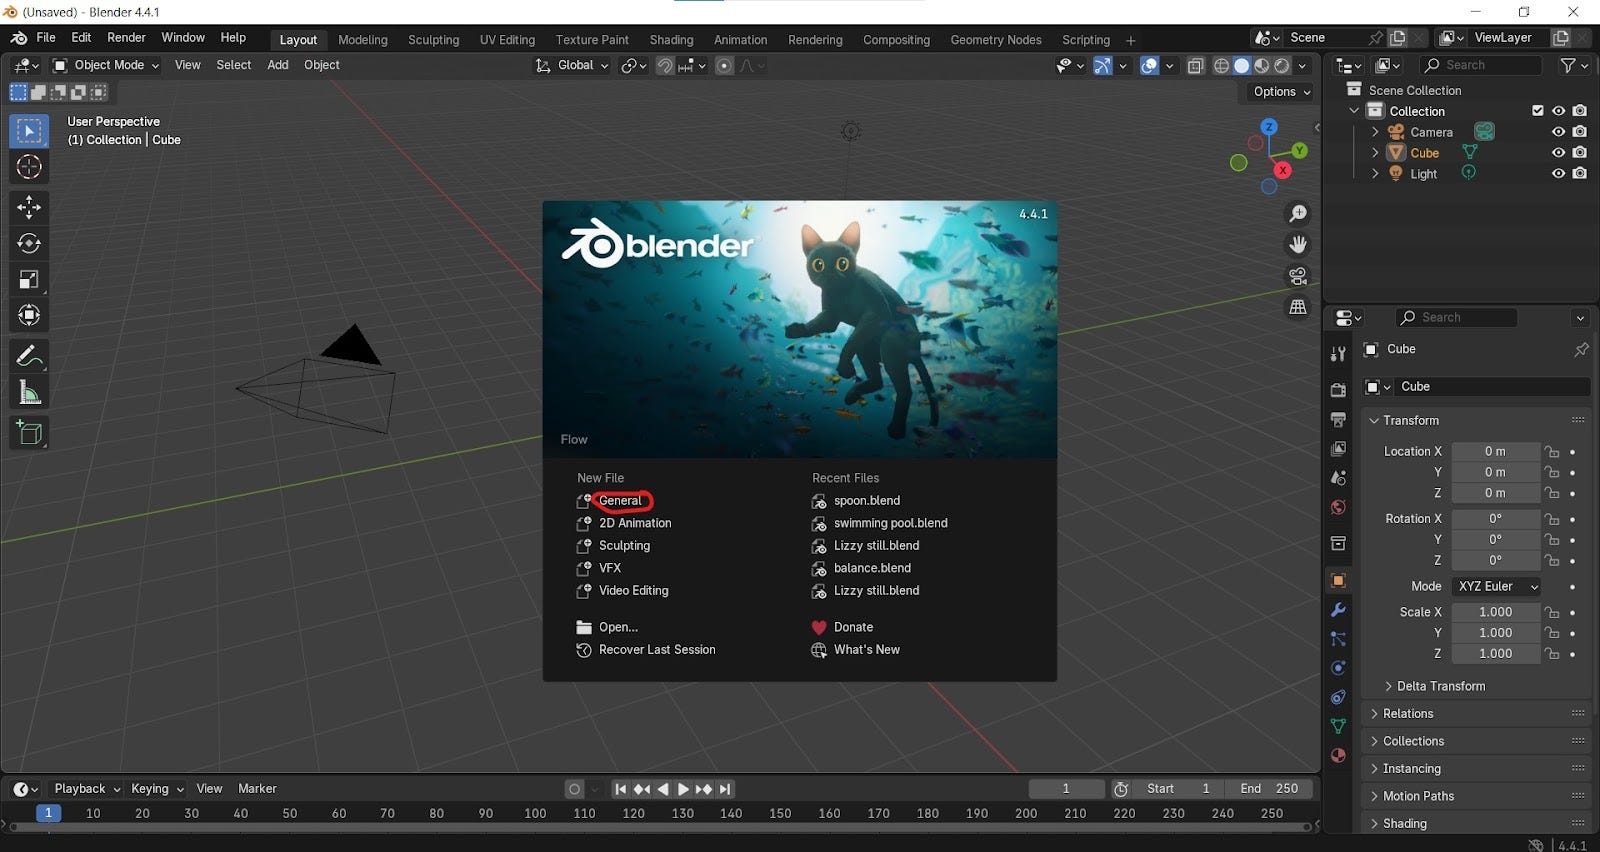
When you first launch Blender, you'll be greeted by a splash screen. This screen displays the Blender version, your recent files, and options to start a new file based on various templates.
To begin with a standard 3D scene, simply click on General or anywhere outside the splash screen in the scene itself.
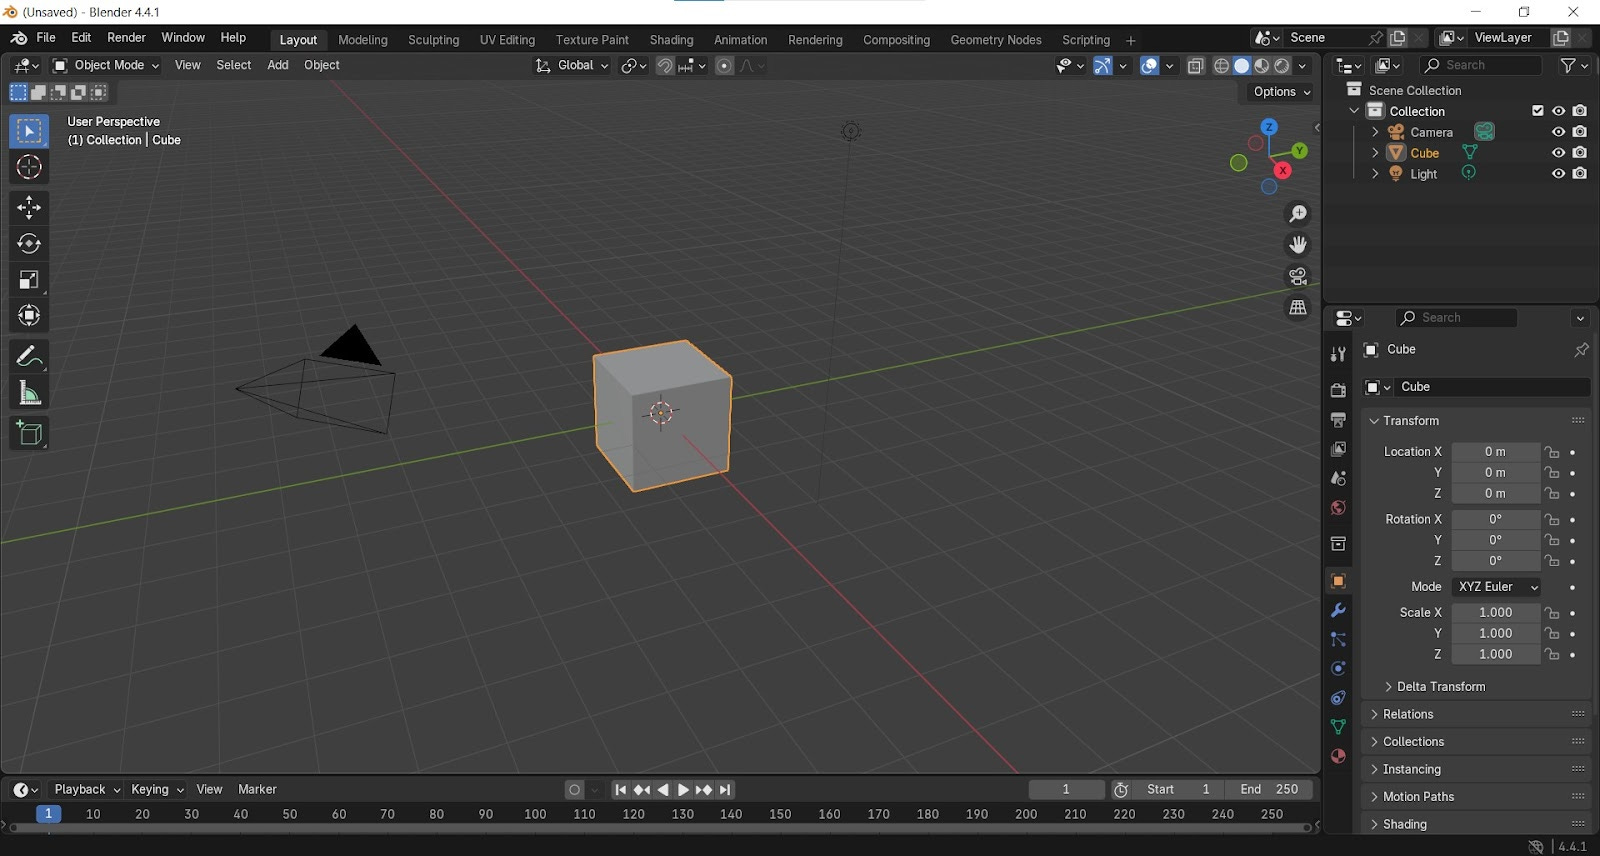
The 3D Viewport
The largest area in Blender is the 3D Viewport. This is your primary workspace where you'll interact with and build your 3D models. You'll also notice other panels to the right and at the bottom, which we'll get to later.
Navigating the Viewport: Mouse Setup
Efficient navigation in Blender is best achieved with a three-button mouse (one with a scroll wheel). If you don't have one, or if you lack a numeric keypad (numpad), Blender offers emulation options:
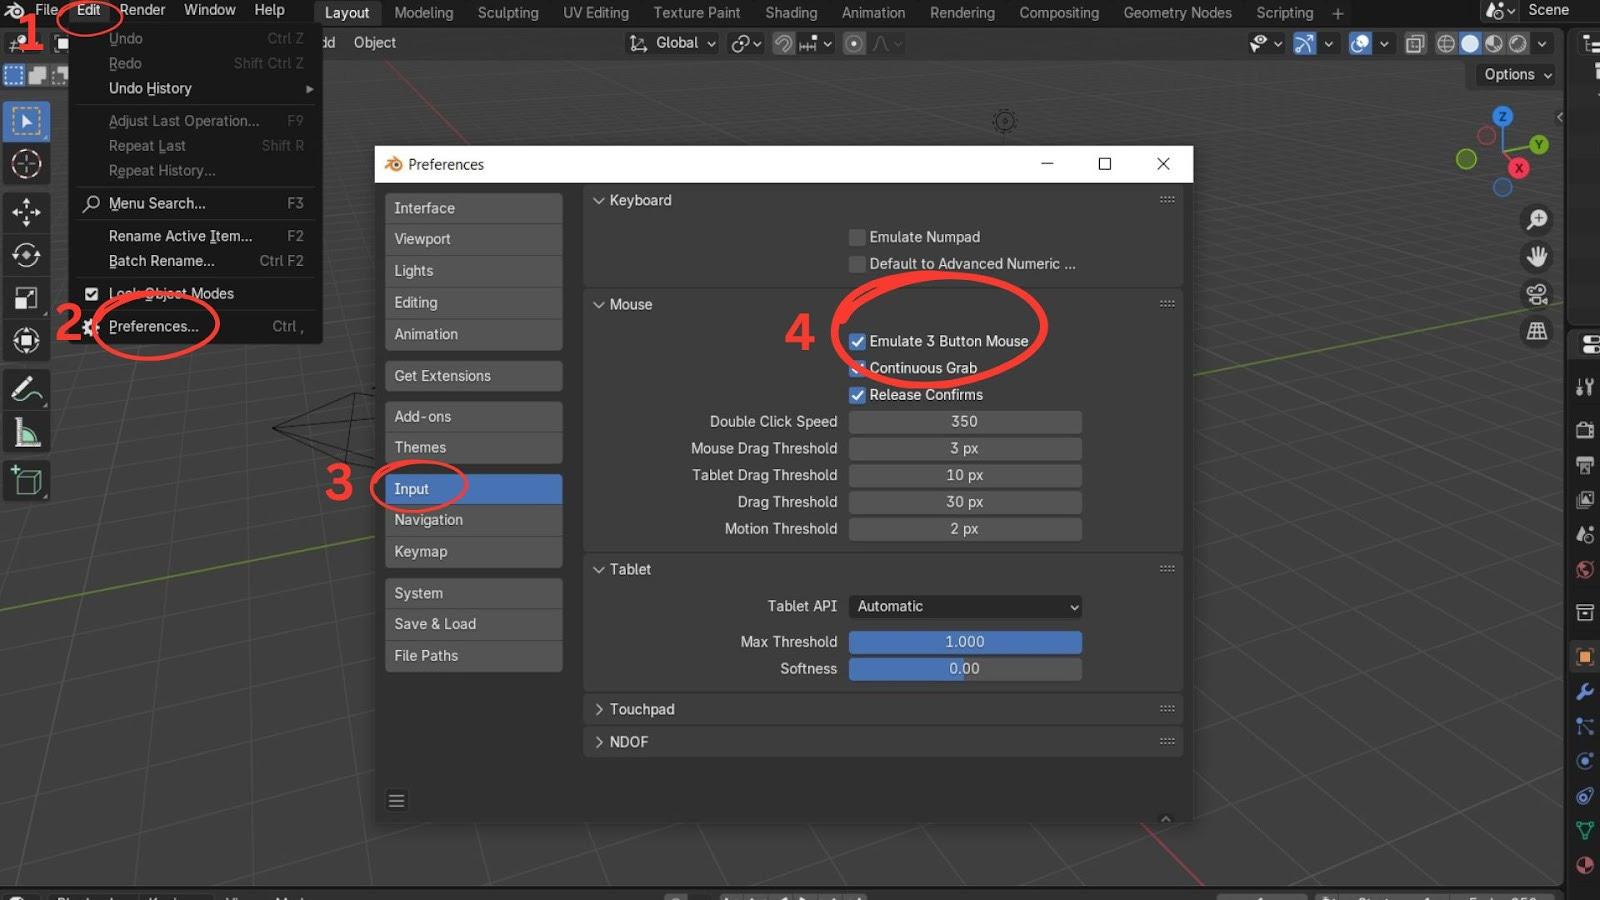
Go to Edit > Preferences.
Under the Input tab, you can enable Emulate 3-Button Mouse and/or Emulate Numpad.
Blender automatically saves these preferences, so you can just close the window.
Basic Navigation Controls:
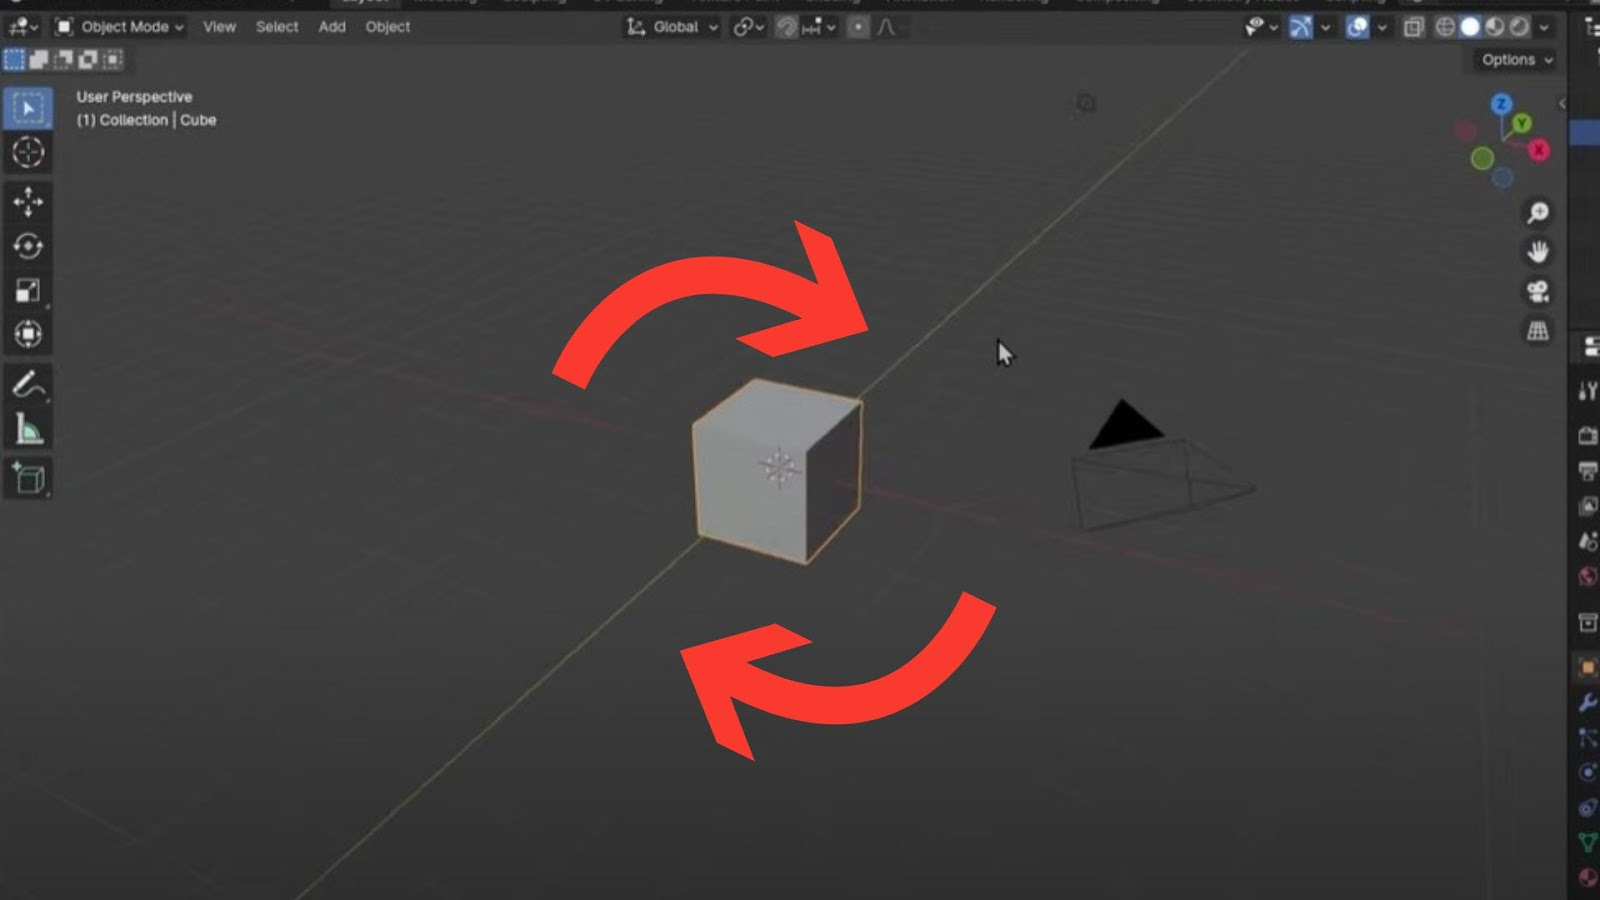
Orbit (Rotate View): Hold down the middle mouse button and drag. You'll rotate around a central focal point, usually your selected object.
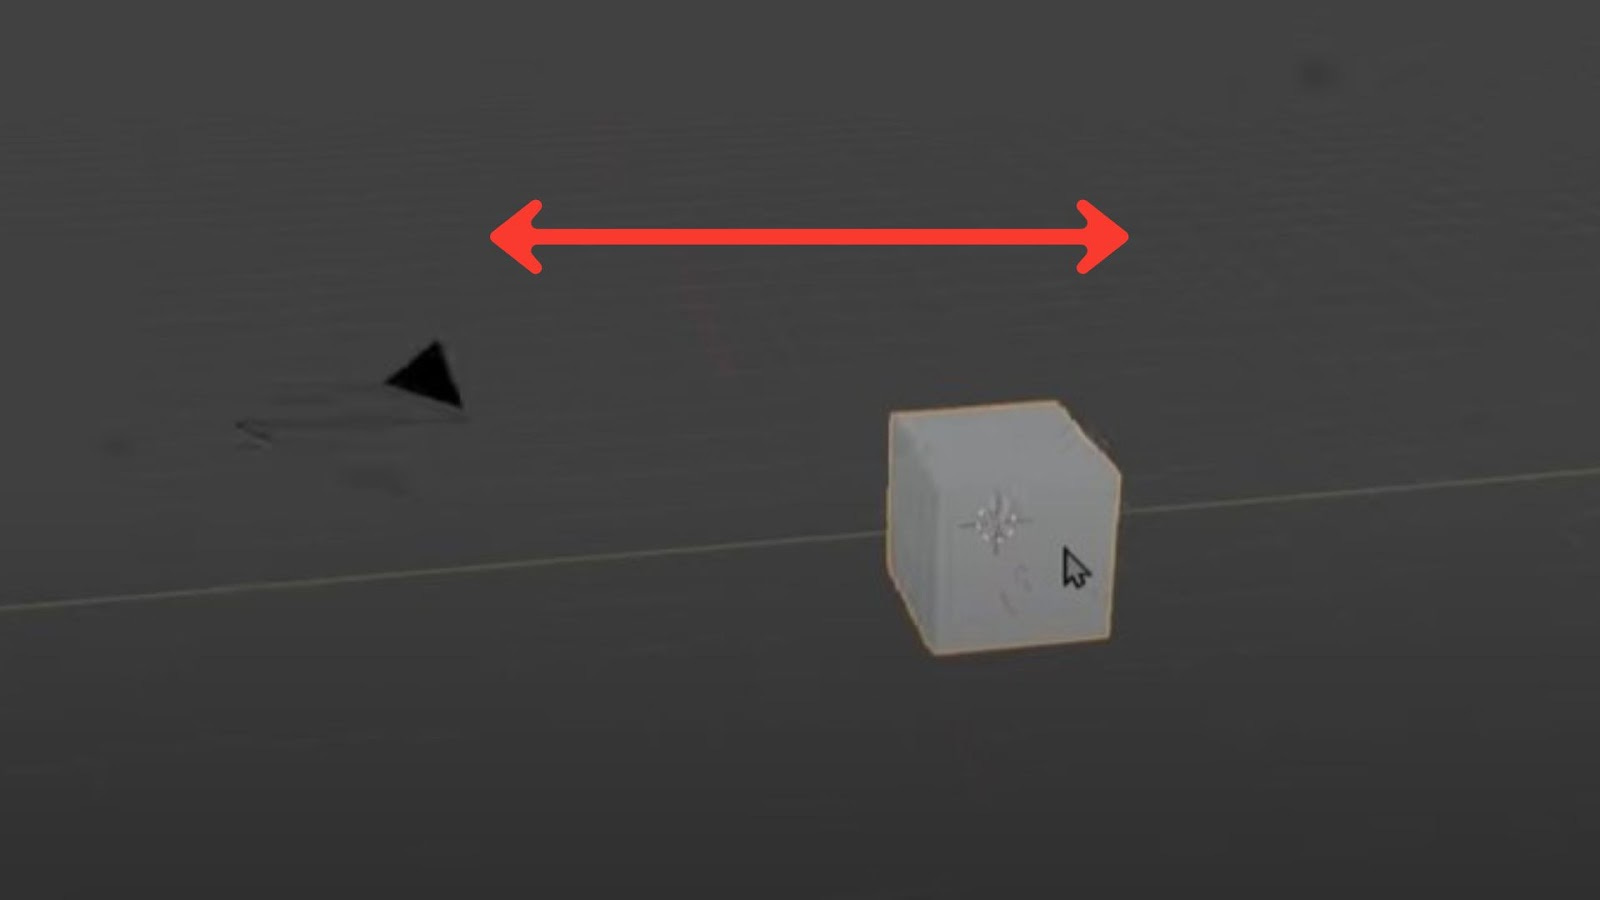
Pan/Strafe View: Hold down Shift + middle mouse button and drag. This moves your view horizontally and vertically.
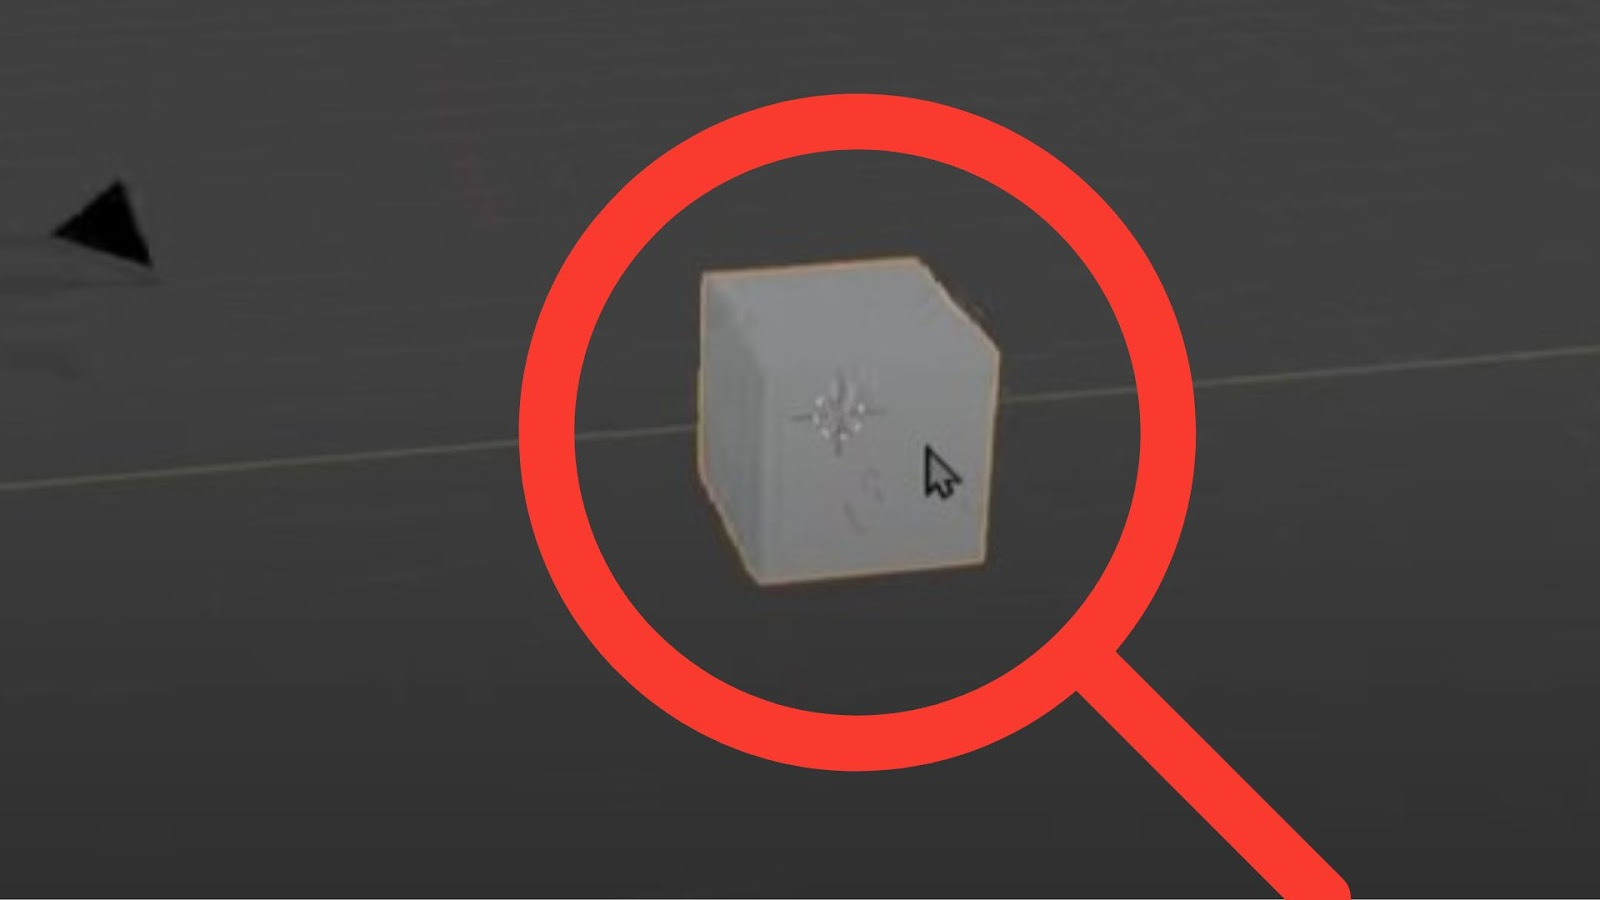
Zoom In/Out: Scroll the mouse wheel up or down.
Alternative Zoom (if no wheel): Hold Ctrl + middle mouse button and drag.
Emulated 3-Button Mouse: If "Emulate 3-Button Mouse" is enabled, use Alt + left-click to perform actions that normally use the middle mouse button.
Selecting Objects
Left-click on an object in the 3D Viewport to select it.
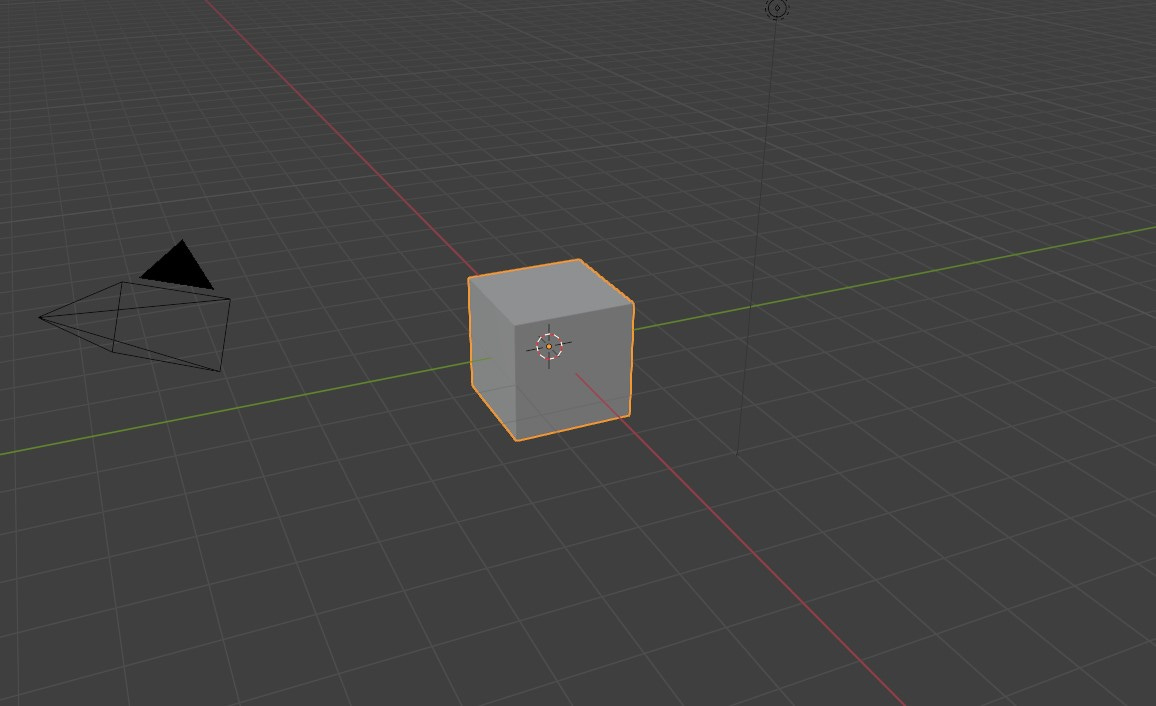
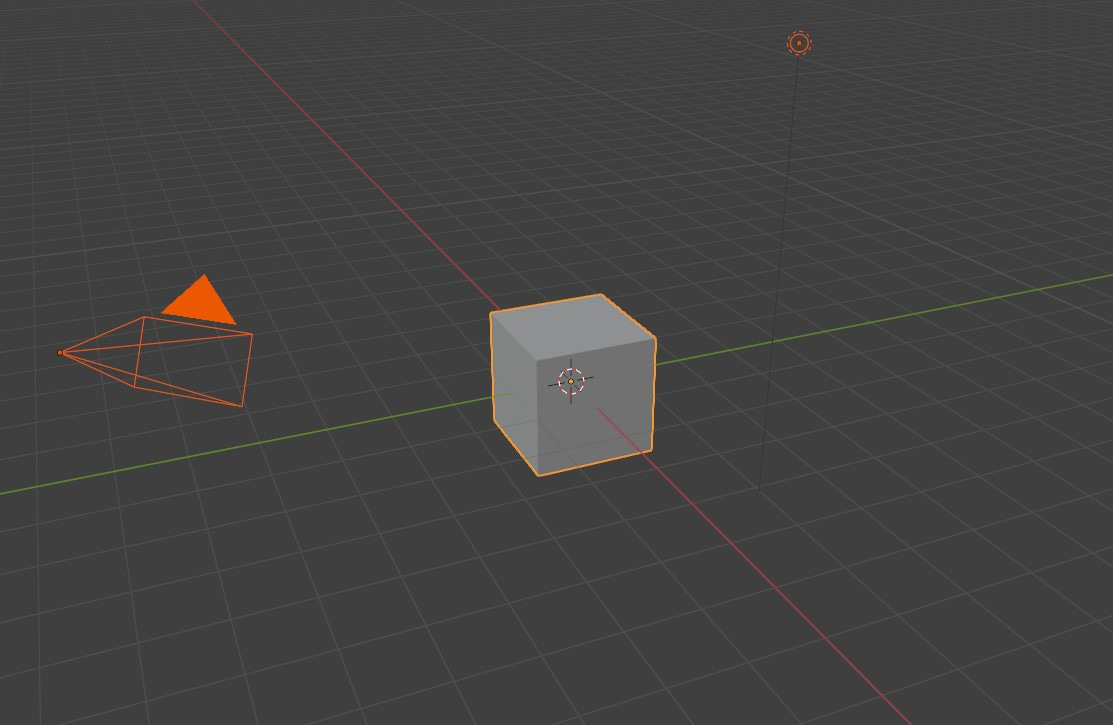
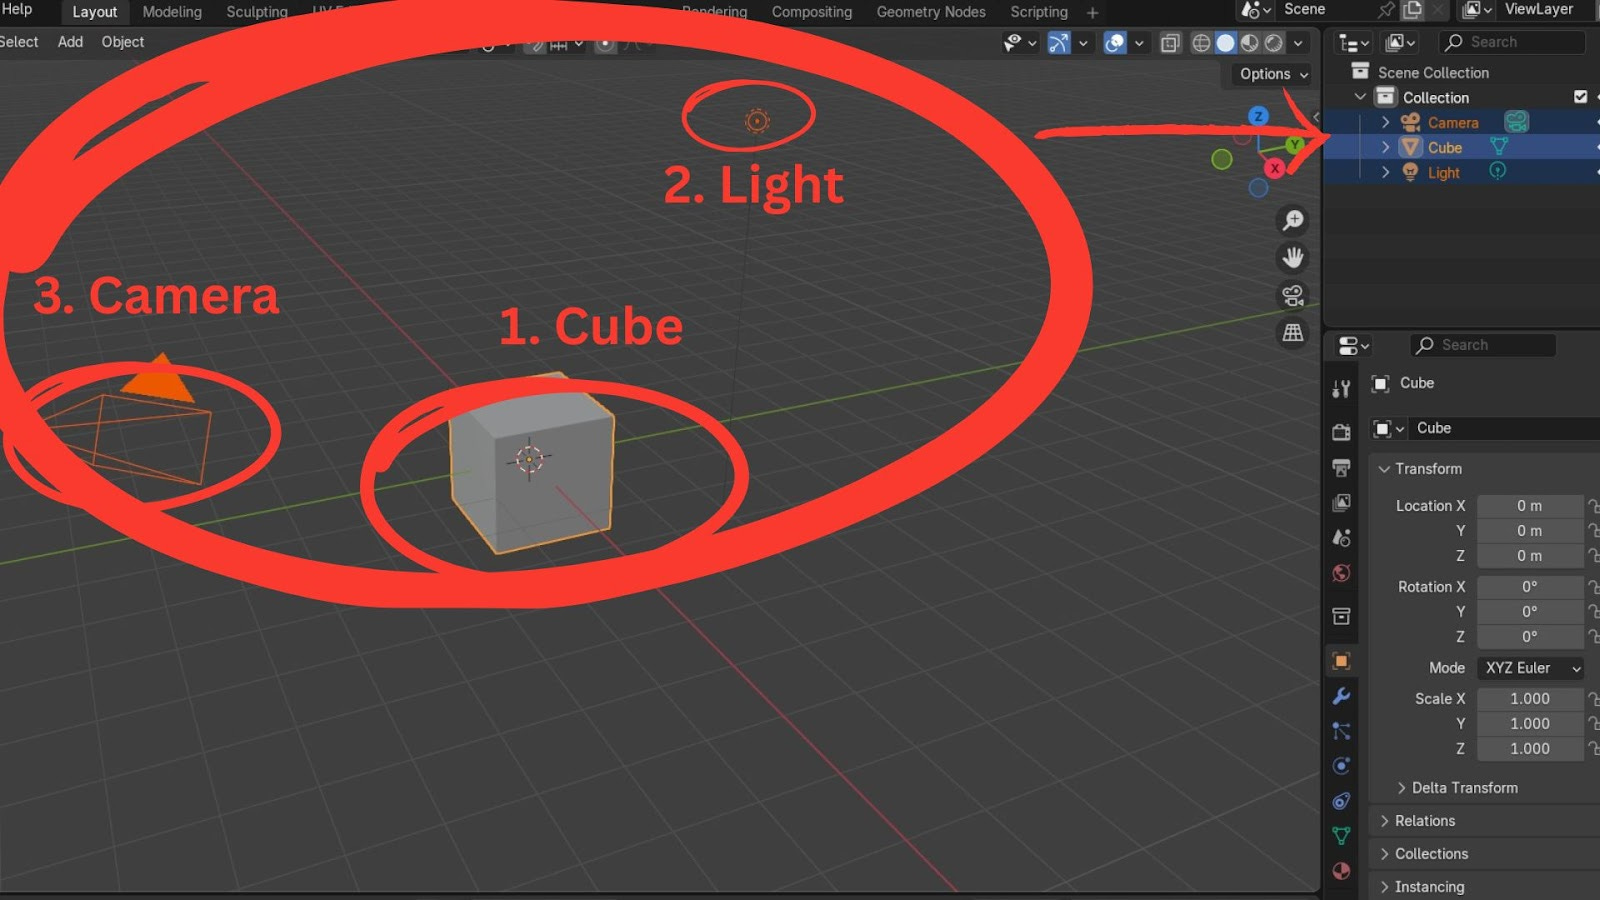
Box Select: Left-click and drag over multiple objects to select them all. At this moment, we only have 3 objects: the cube, the light and the camera.
Framing Your View
To quickly adjust your view:
Frame Selected (Numpad Period key '.'): This zooms in on your currently selected object, making it the centre of your view.
Frame All (Home key): This adjusts your view to show all objects in your scene.
The Outliner
On the right side of the interface, you'll find the Outliner. This panel lists all the objects in your scene, like the default Cube, Light, and Camera. You can also left-click on an object's name here to select it.
Viewport Display Options
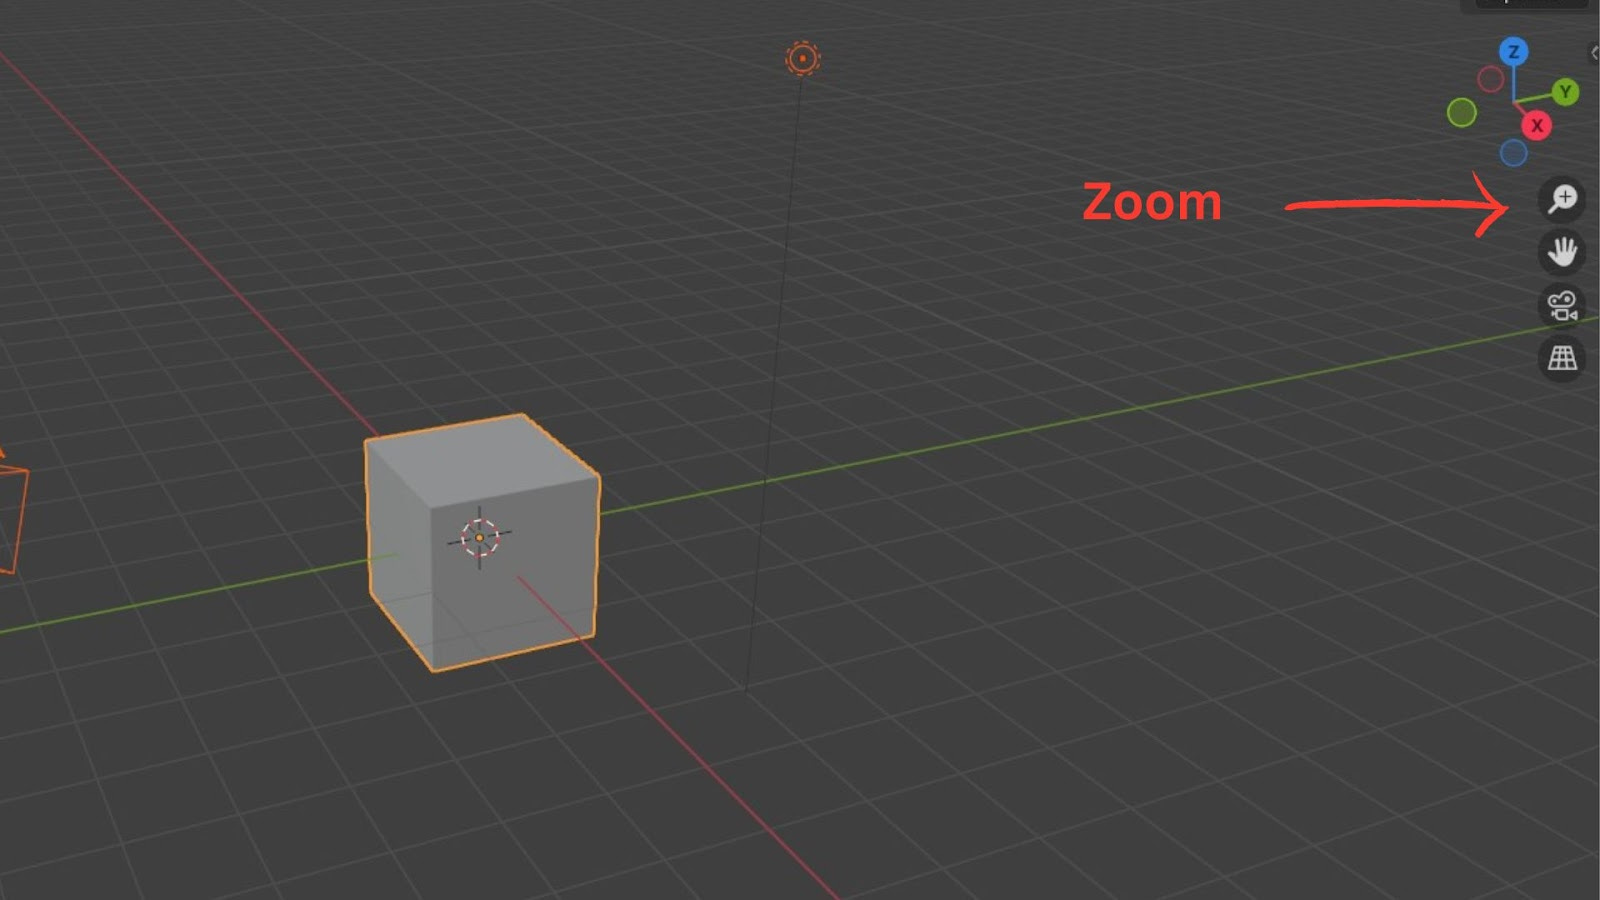
To the right of the 3D Viewport, a column of icons offers additional display and navigation tools:
Zoom/Move View Icons: These duplicate the mouse navigation actions for zooming and panning.
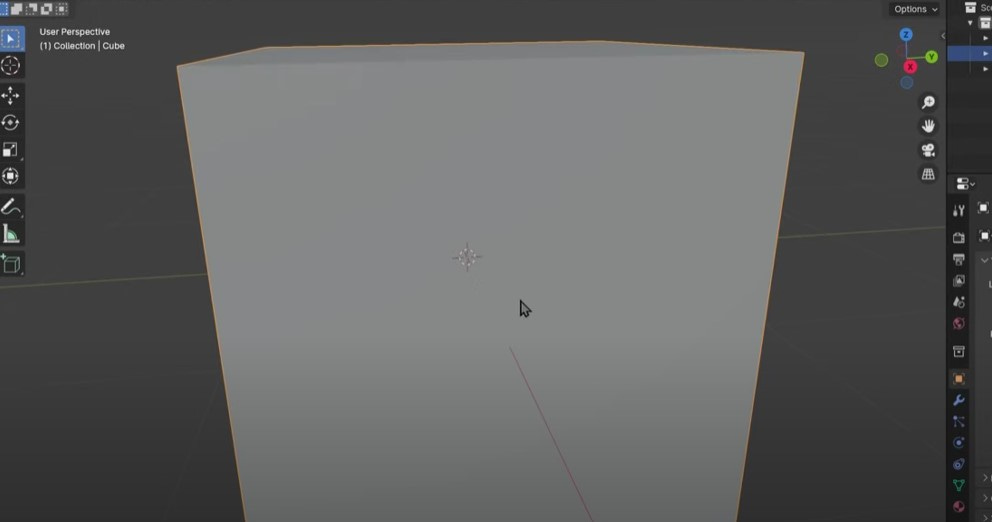
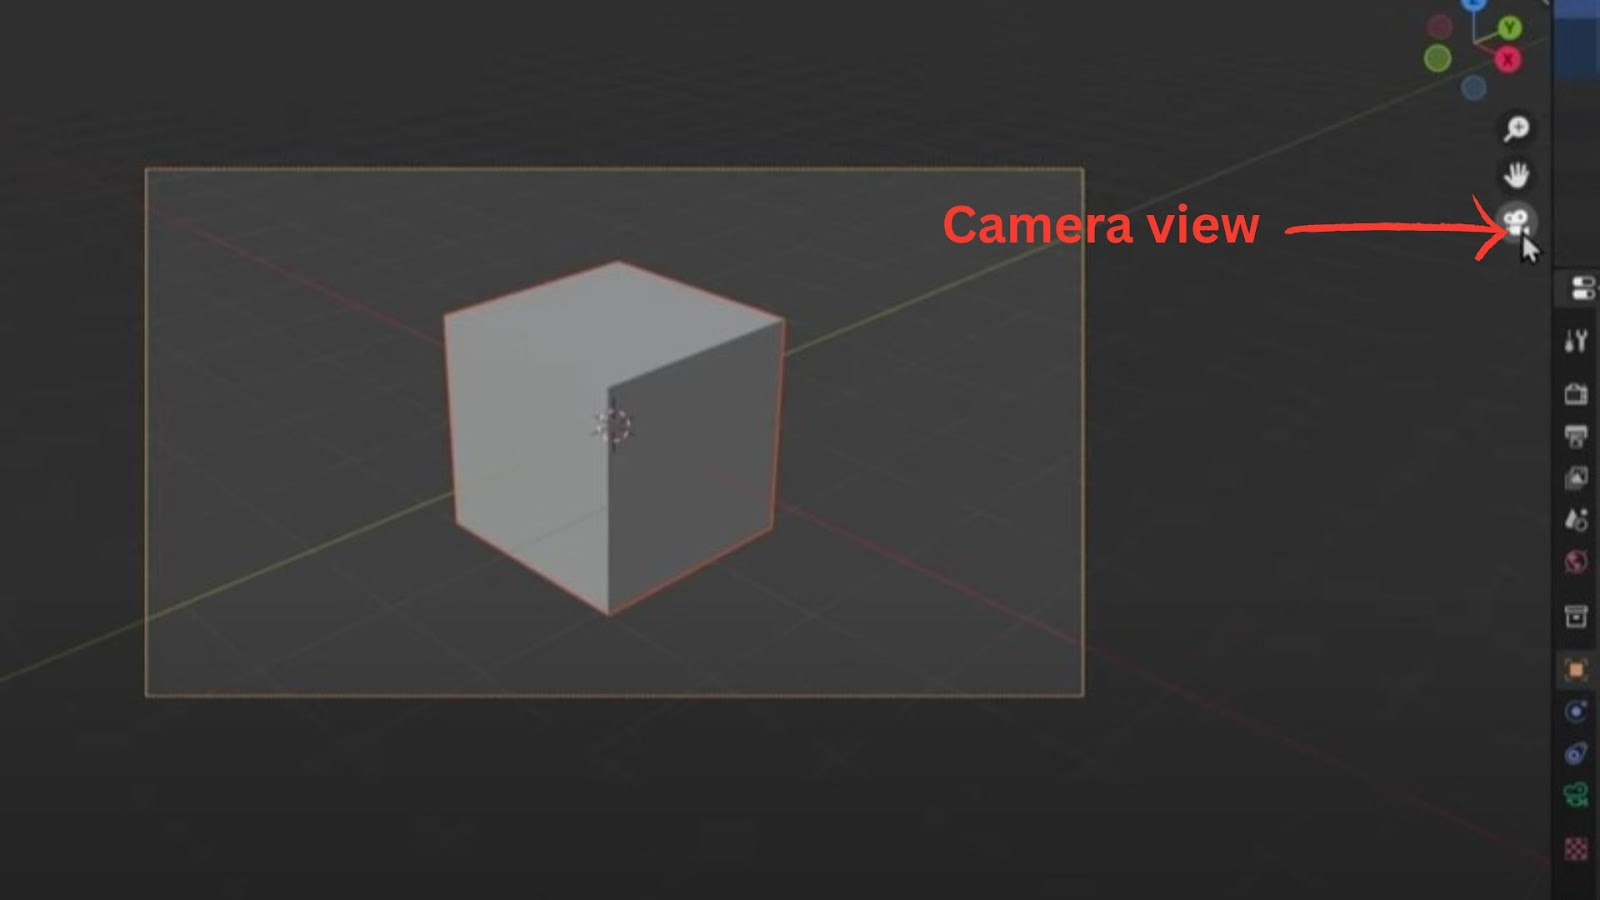
Camera View (Camera icon or Numpad 0): Click this to look through your scene's camera. This is exactly what your final render will capture. Click it again or middle-mouse drag to exit.
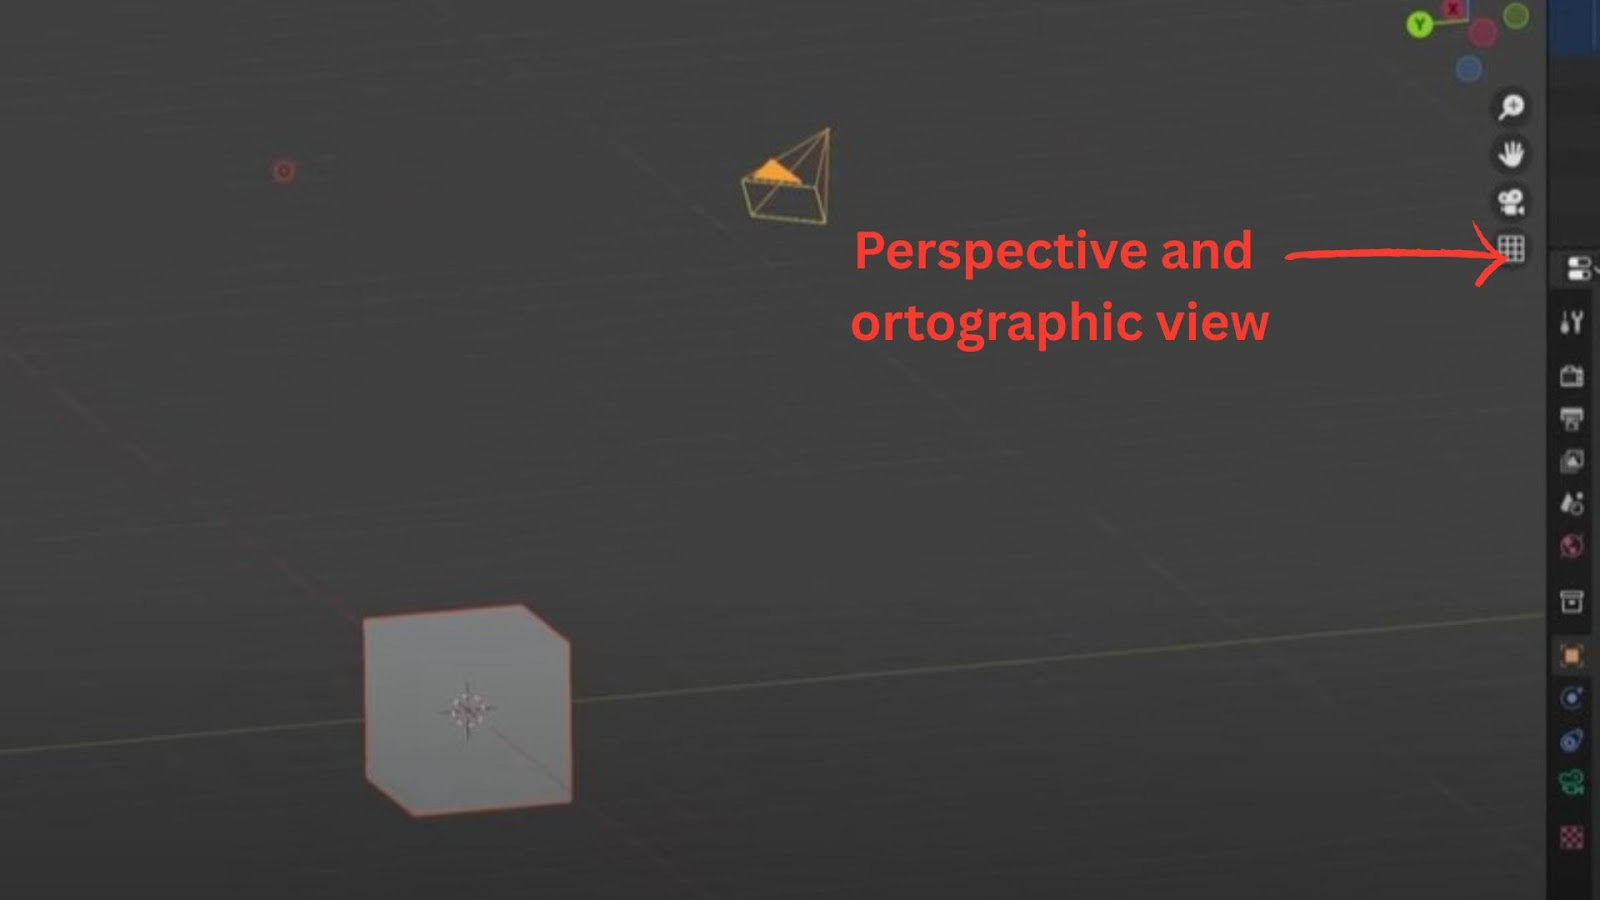
Perspective/Orthographic View Toggle:
Perspective View (default) mimics real-world vision, where objects appear smaller in the distance.
Orthographic View flattens the scene, making parallel lines remain parallel. This is incredibly useful for precise alignment and modelling.
Cartesian Coordinates (The Gizmo)
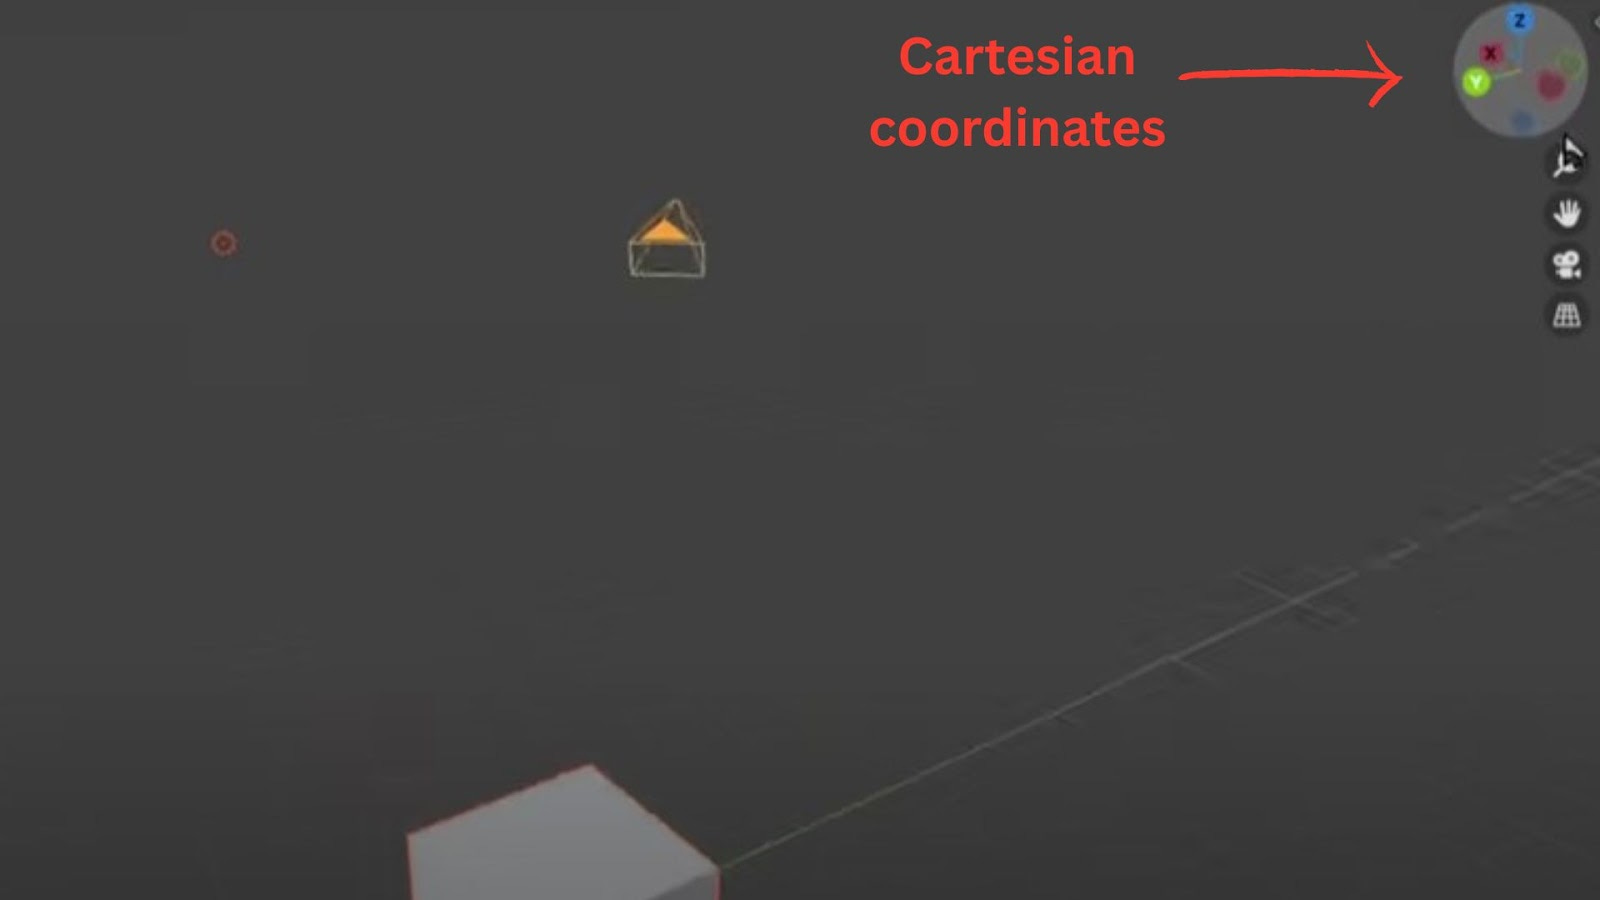
In the top-right corner of the 3D Viewport, you'll see a colourful set of axes representing the Cartesian coordinates (X, Y, Z).
The labelled axes (X, Y, Z) indicate their positive directions.
You can click on these letters to snap your view to a specific axis (e.g., clicking Z for a perfect top-down view).
Numpad Shortcuts for Fixed Views:
Numpad 7: Top View
Numpad 1: Front View
Numpad 3: Side View
It's a great idea to practice these navigation controls until you feel comfortable.
Adding Objects
Let's expand our scene by adding more objects. For now, we'll hide the default Light and Camera to keep things focused.
Hiding Objects
In the Outliner, next to each object's name:
The eye icon controls visibility in the 3D Viewport. Click it to hide or show an object.
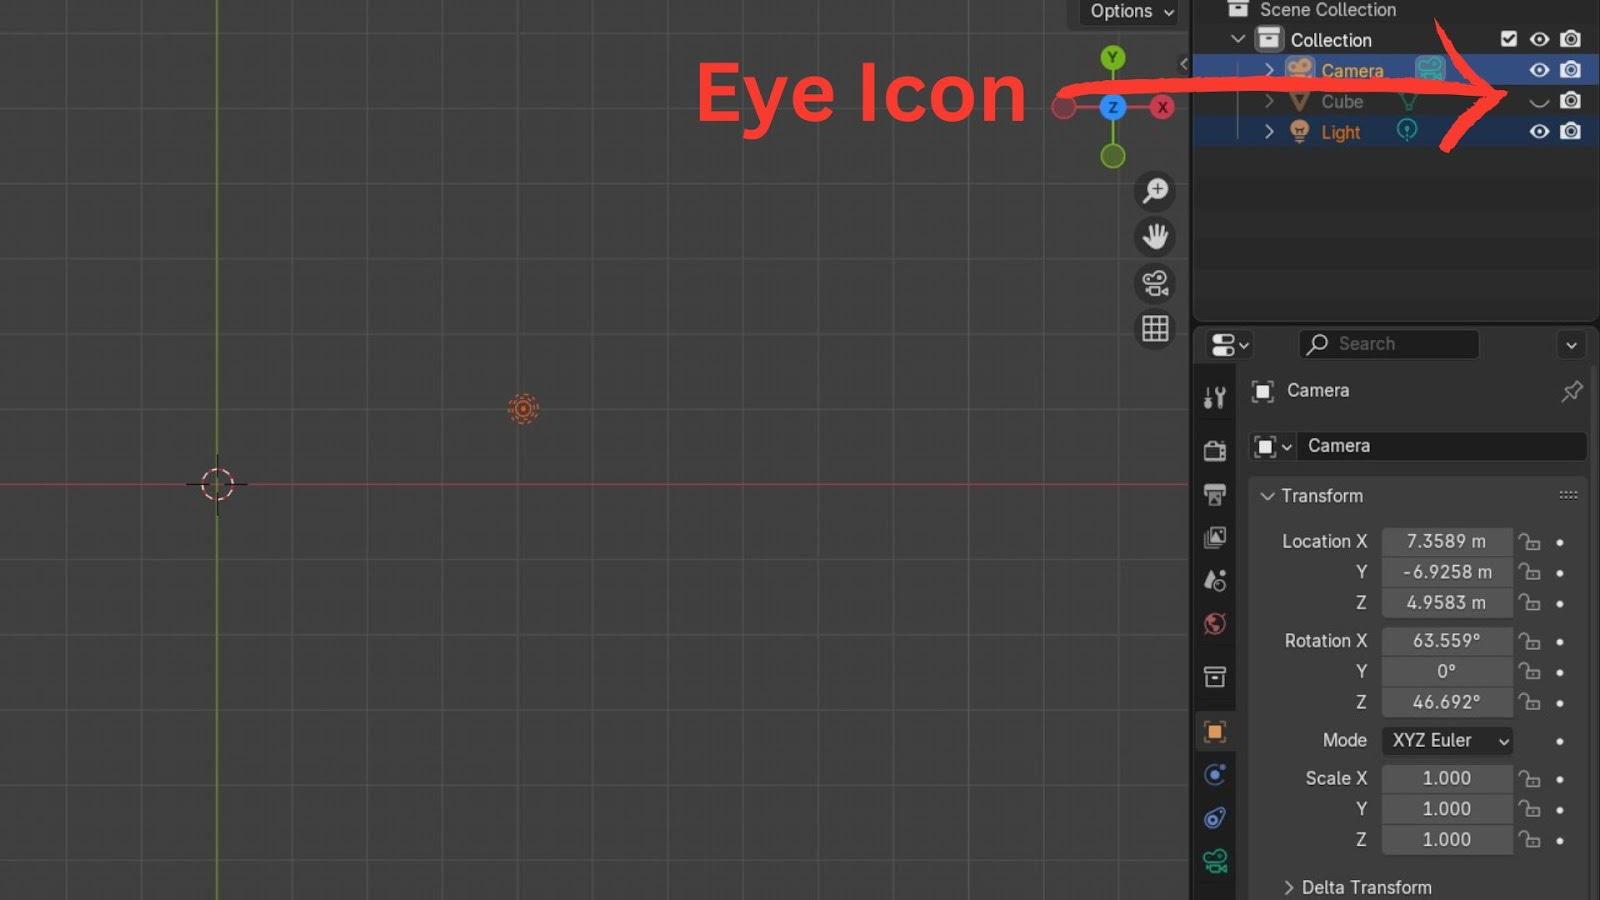
The camera icon controls visibility in the render. If this is unchecked, the object won't appear in your final image or animation.
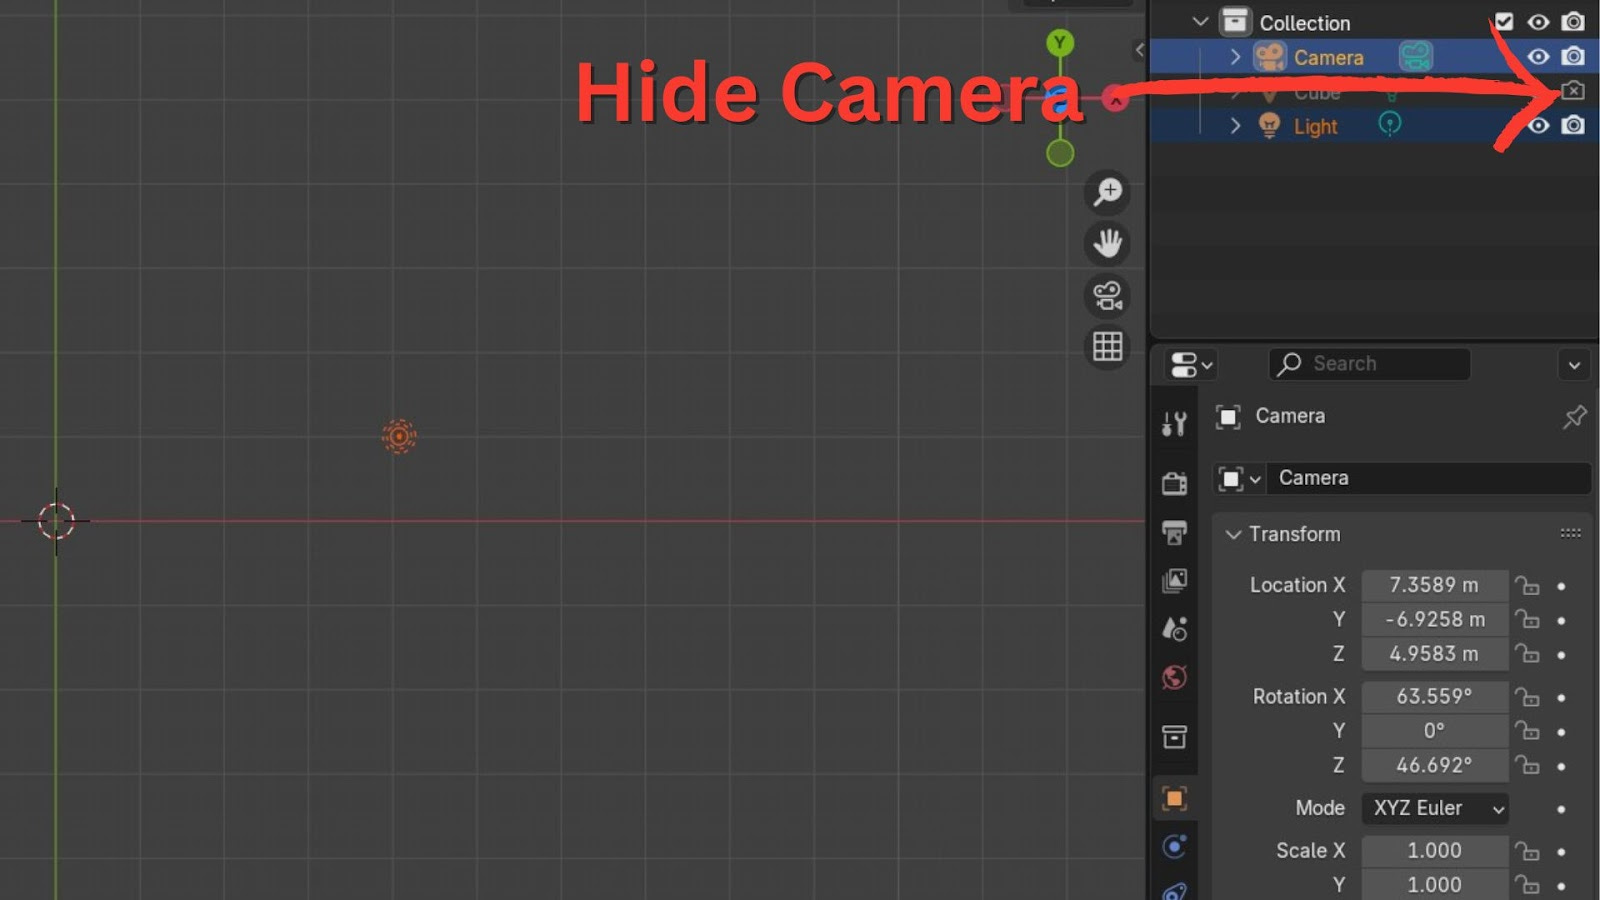
For our exercise, hide the Light and Camera using the eye icon. You should be left with just the Cube.

Adding New Mesh Objects
New objects are added via the Add menu at the top of the 3D Viewport, or by using the shortcut Shift + A.
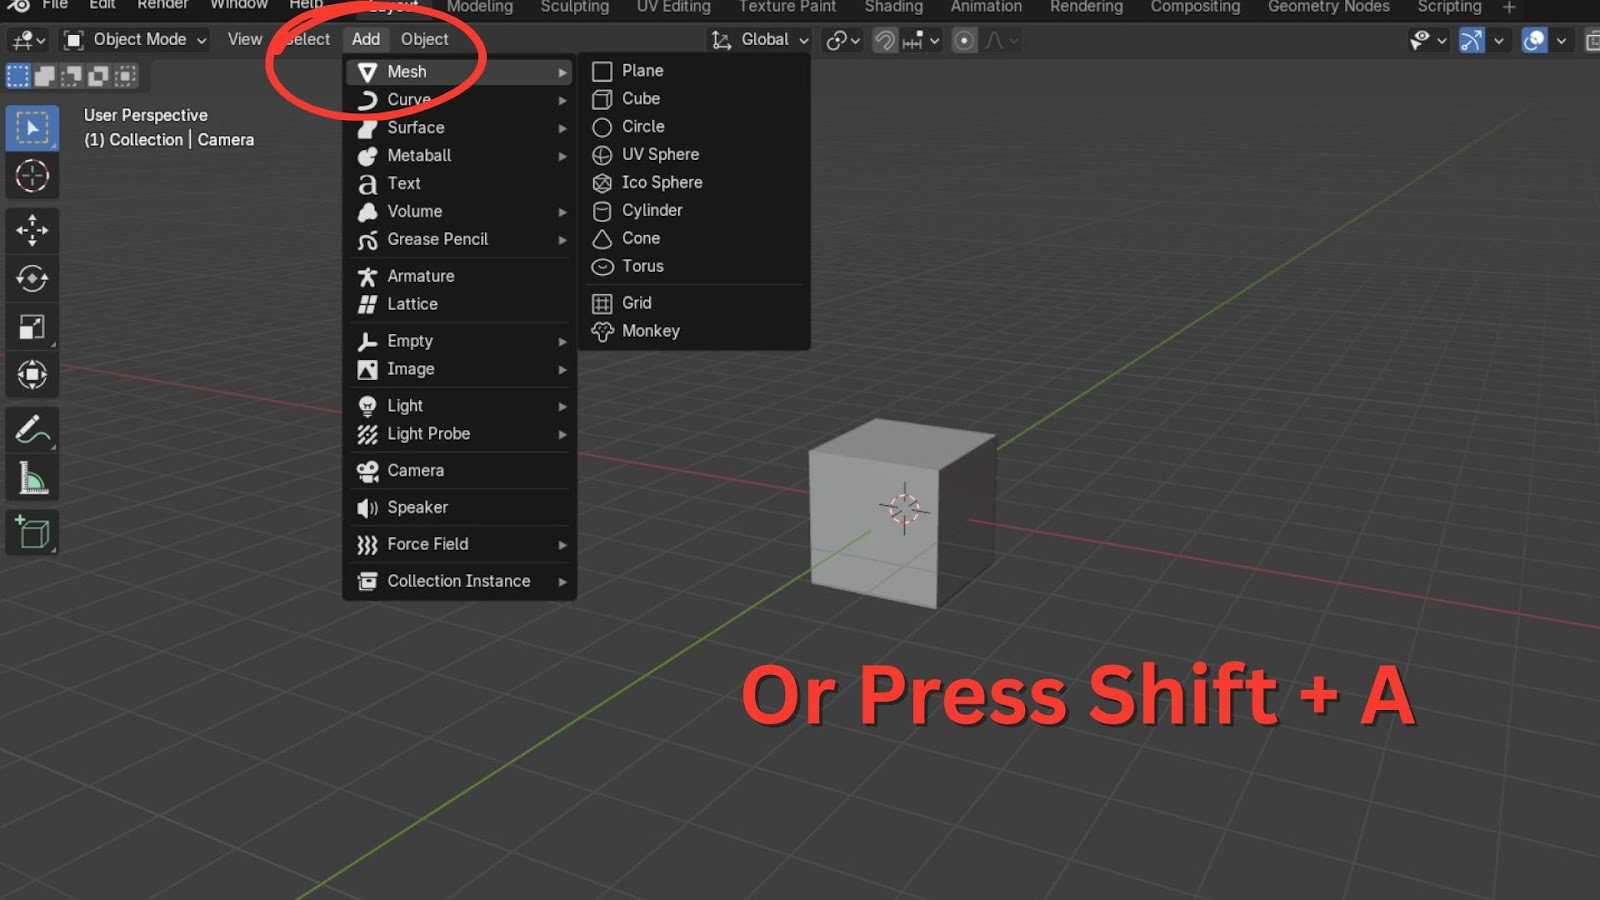
We'll primarily focus on Mesh objects, which are the fundamental building blocks of 3D models.
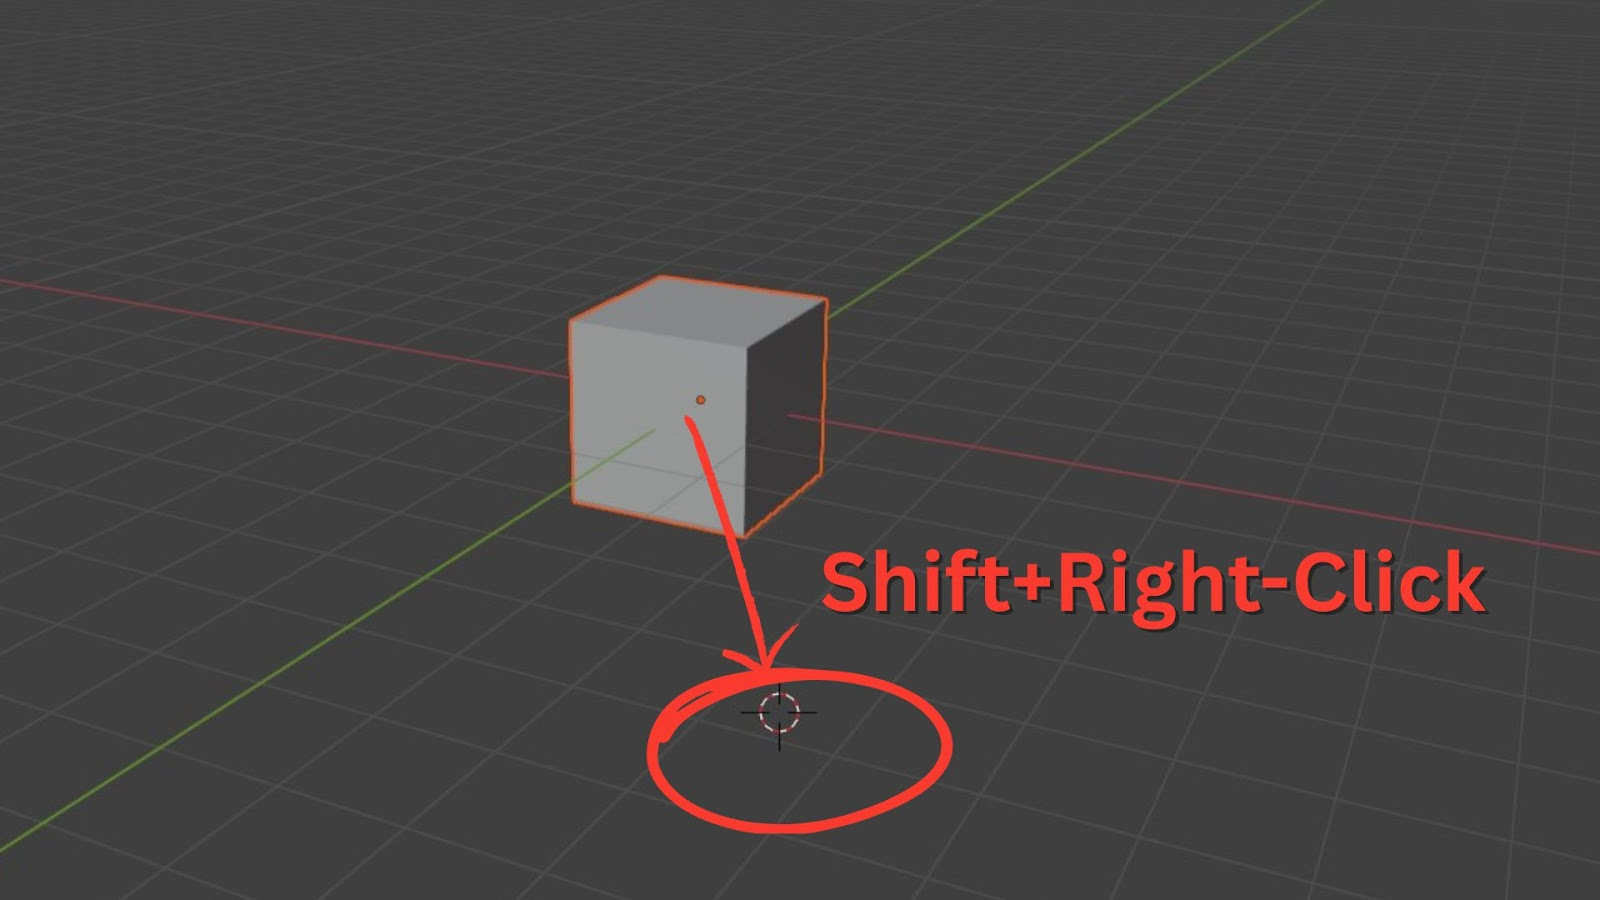
Crucially, new objects are always added at the location of your 3D Cursor (the red and white circular icon in the middle of your scene).
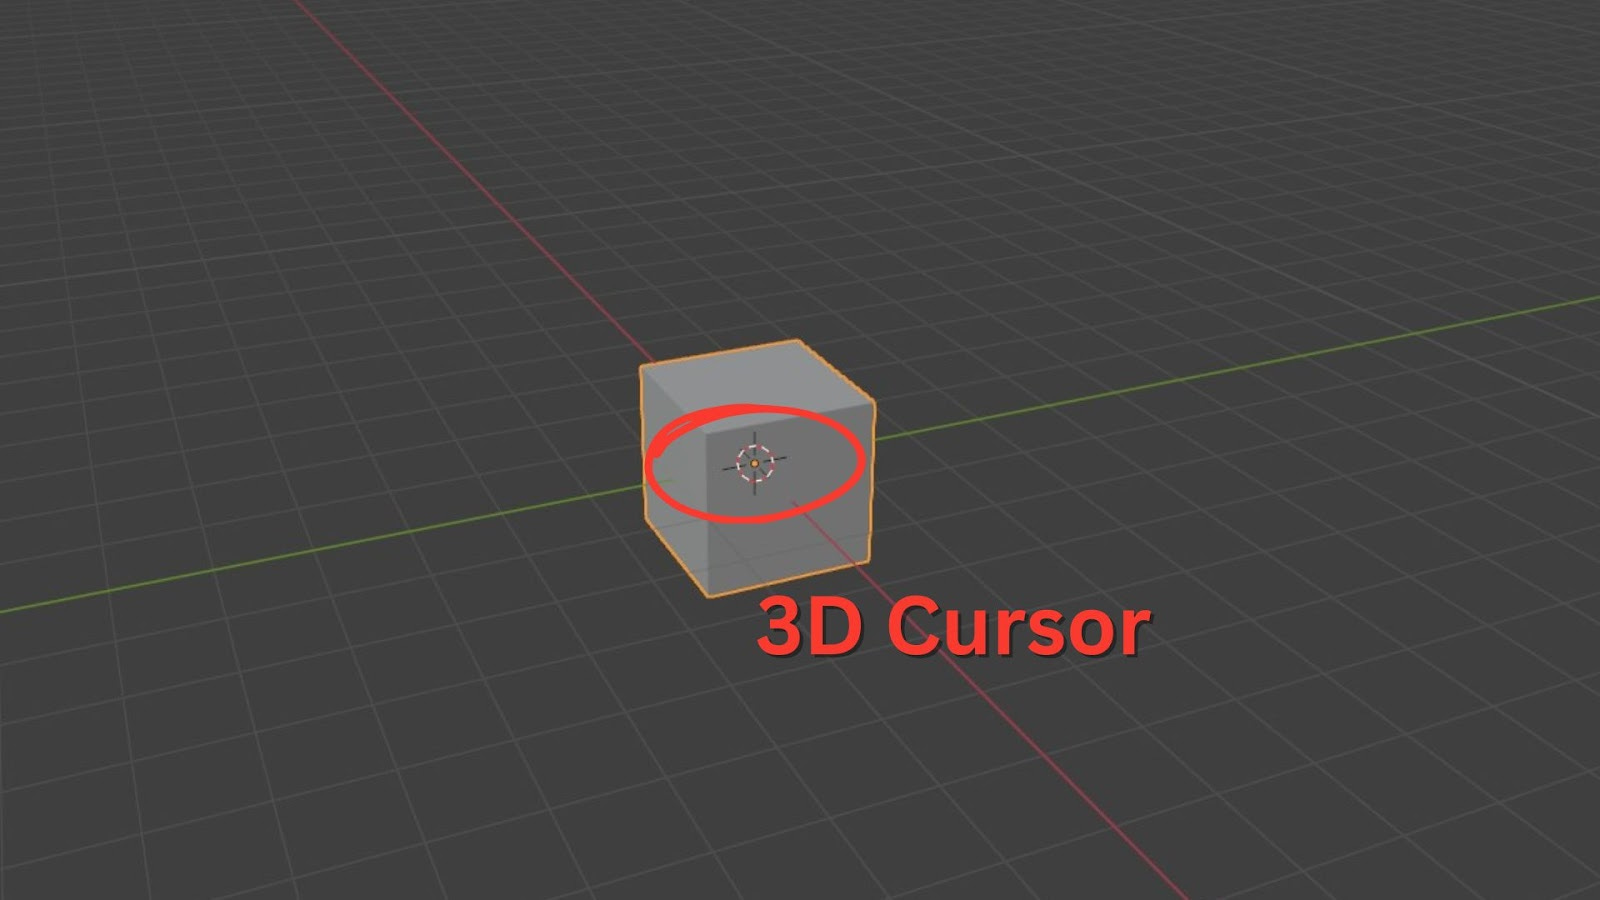
You can move the 3D Cursor by pressing Shift + Right-click.
Practice by adding a Plane and a Circle to your scene. Notice how they appear at the 3D Cursor's location.

If you read this far, thank you, and I will see you in part two!