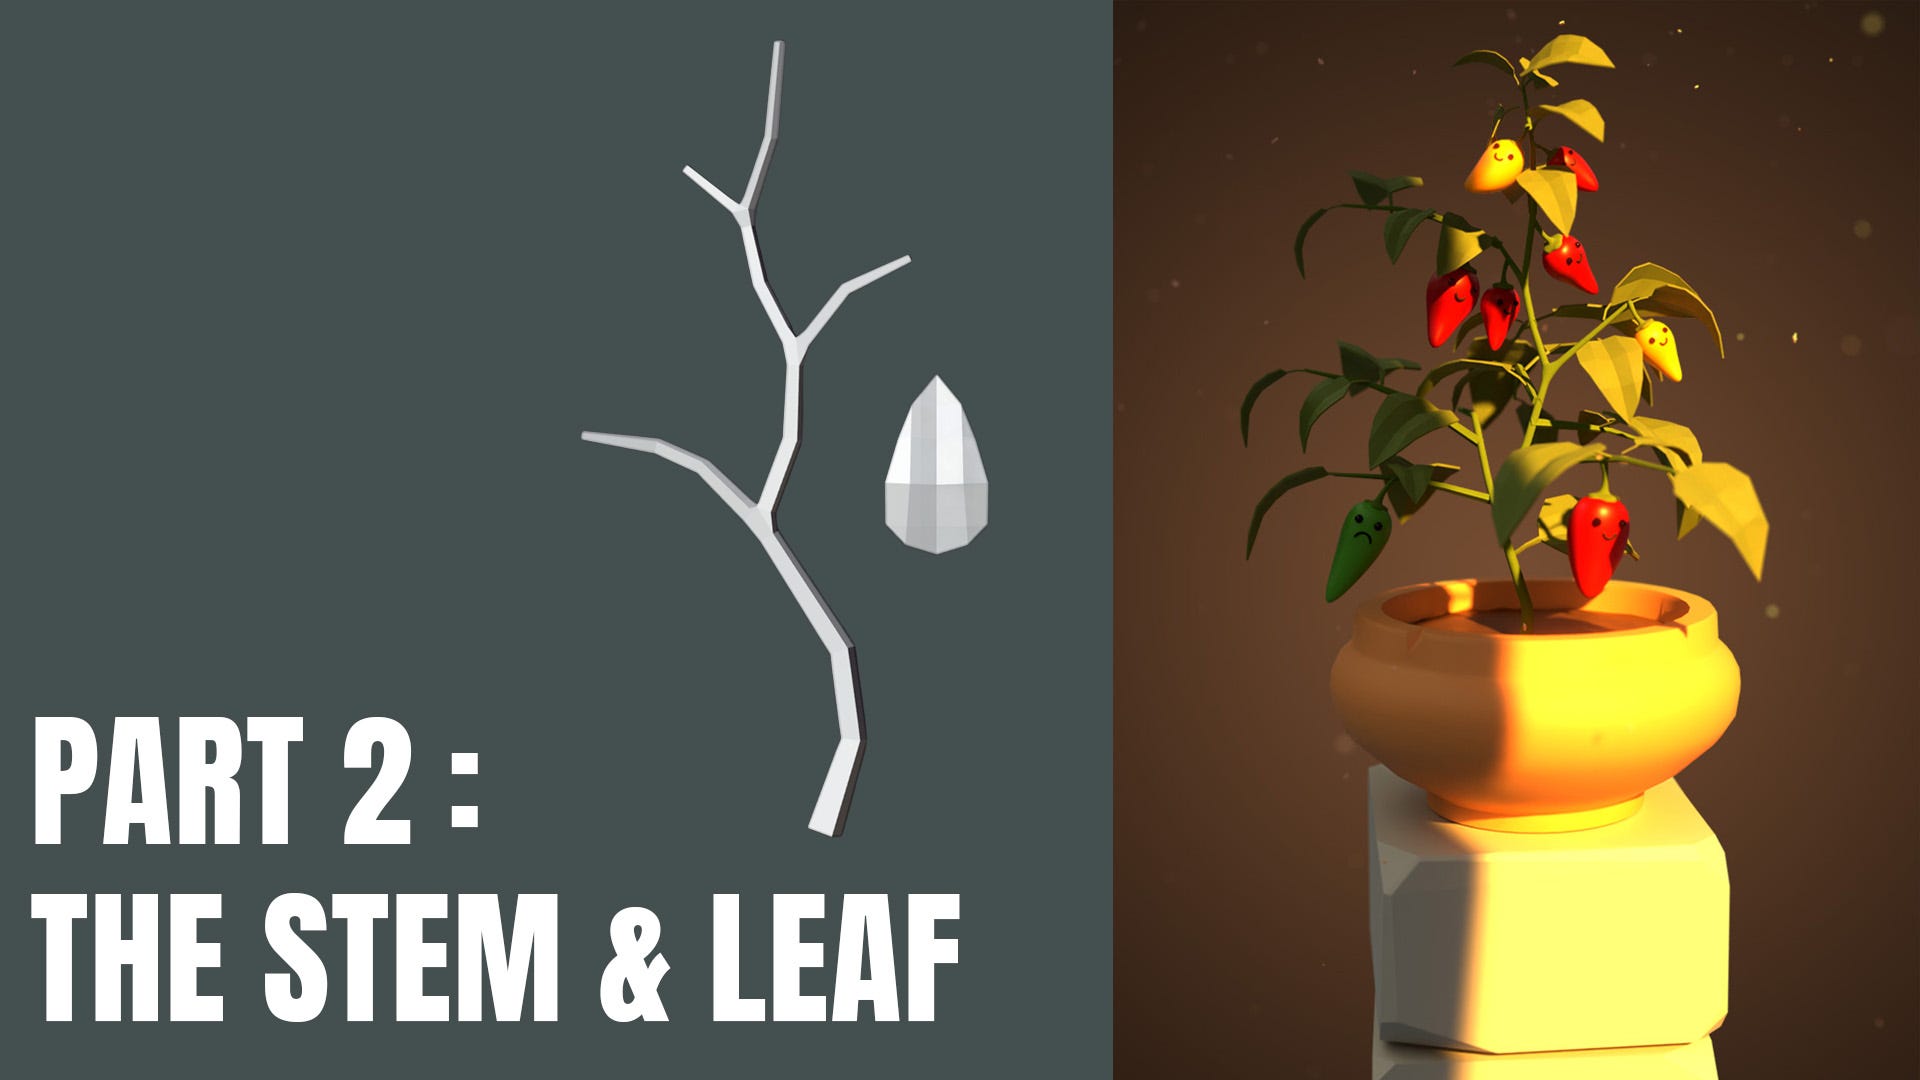
Part 2: Create The Stem and Leaf in Blender 4 - A Step-by-Step Written Intermediate Modelling Guide
Blender Tutorial Series - Chilli Plant: A Step-by-Step Written Intermediate Modelling Guide

In this second part, we'll walk through creating the stem and the leaf for our chilli plant. It will be part of this amazing scene that we will be creating together throughout the subsequent episodes. We'll be using Blender version 4.4.3. This is a beginner to intermediate level series.
This tutorial has also been released in video form, so you can have the option of either or both.
If you’re just starting out in Blender, then check out my complete beginner’s guide booklet
👉 https://grantabbitt.gumroad.com/l/fufbi
Also, check out my Gumroad for some free downloads of maybe helpful & general 3d stuff that I've made:
https://grantabbitt.gumroad.com/
If you want an in-depth, detailed and methodical course, then check out my
Complete Blender Creator Course for only $15
Part 2: Creating the Chilli Plant: Stem and Leaf
In this section, we'll focus on building the fundamental parts of our plant: the stem and the leaf. We'll cover efficient ways to organise your scene, create organic shapes with the Skin Modifier, and utilise the Knife tool and Auto Mirror add-on for precise modelling.
Organising Your Chilli Object
Before we jump into making the new parts, let's organise our existing chilli object to keep our scene clean and manageable.
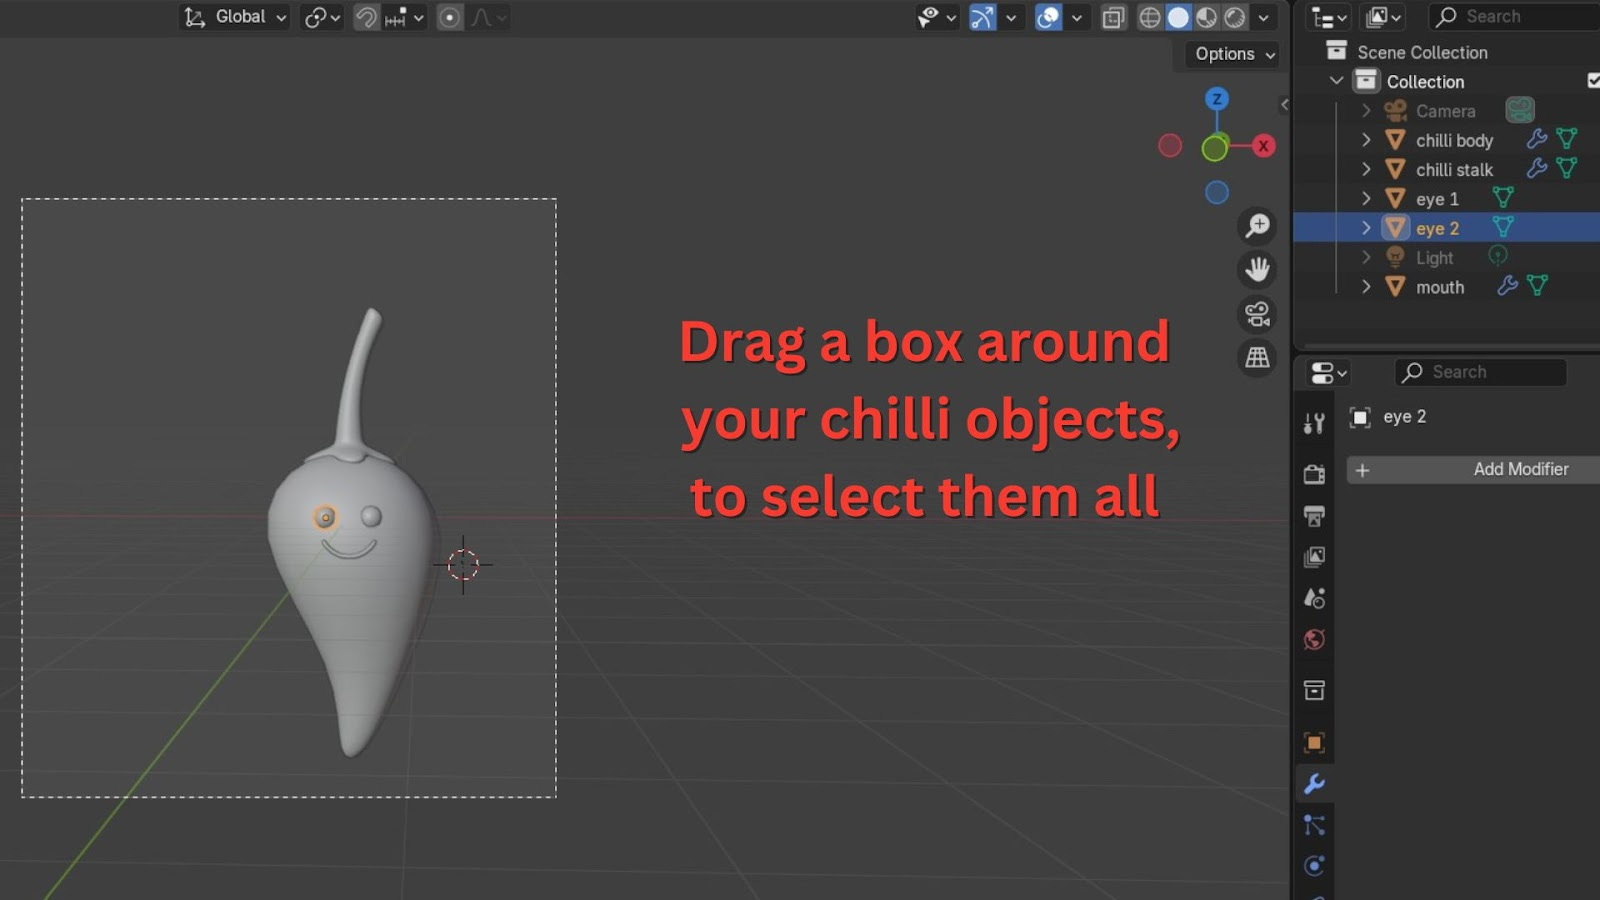
Select all the objects that make up your chilli. You can do this by dragging a box around them or Shift-clicking each part.
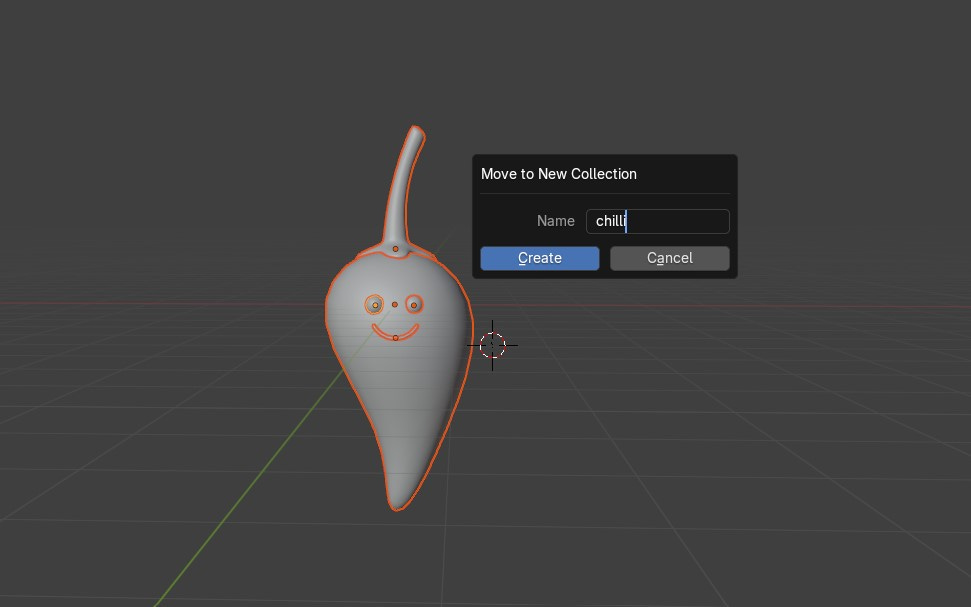
Press M on your keyboard to bring up the "Move to Collection" menu.
Choose New Collection.
In the pop-up, name your new collection Chilli.
Click OK or Create.
This helps immensely when your scene becomes more complex, as you can easily hide or manage all chilli components together.
Currently, your chilli might be quite large in Blender's scale. It's good practice to have objects at a more realistic size, especially for lighting later on.
Press N on your keyboard to open the N-Panel (the Transform panel on the right side of your viewport).
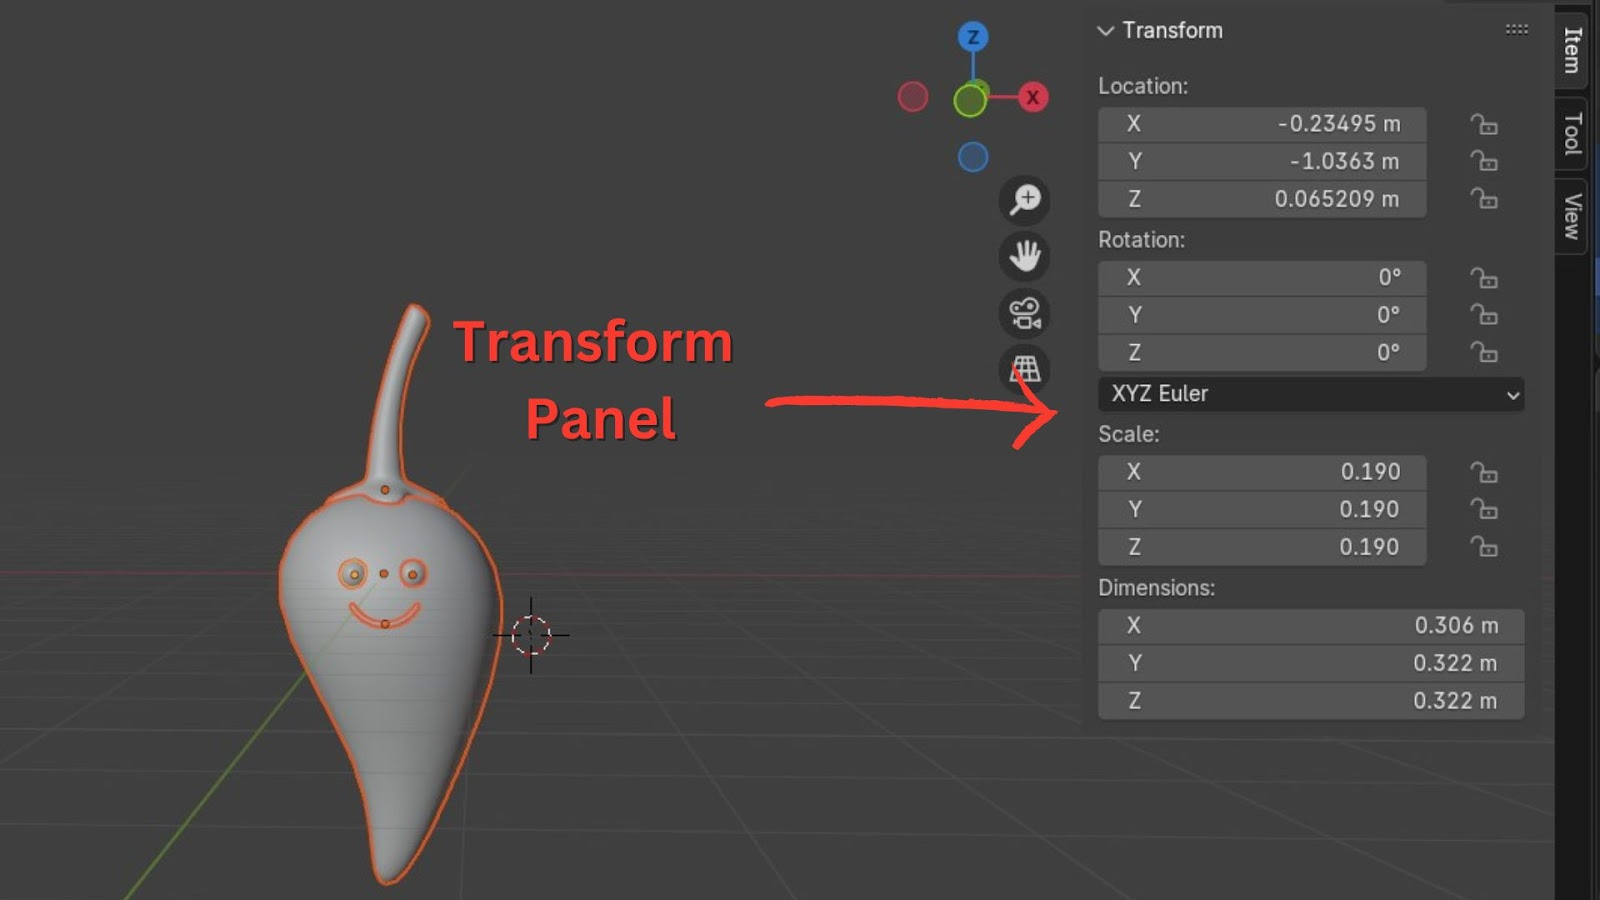
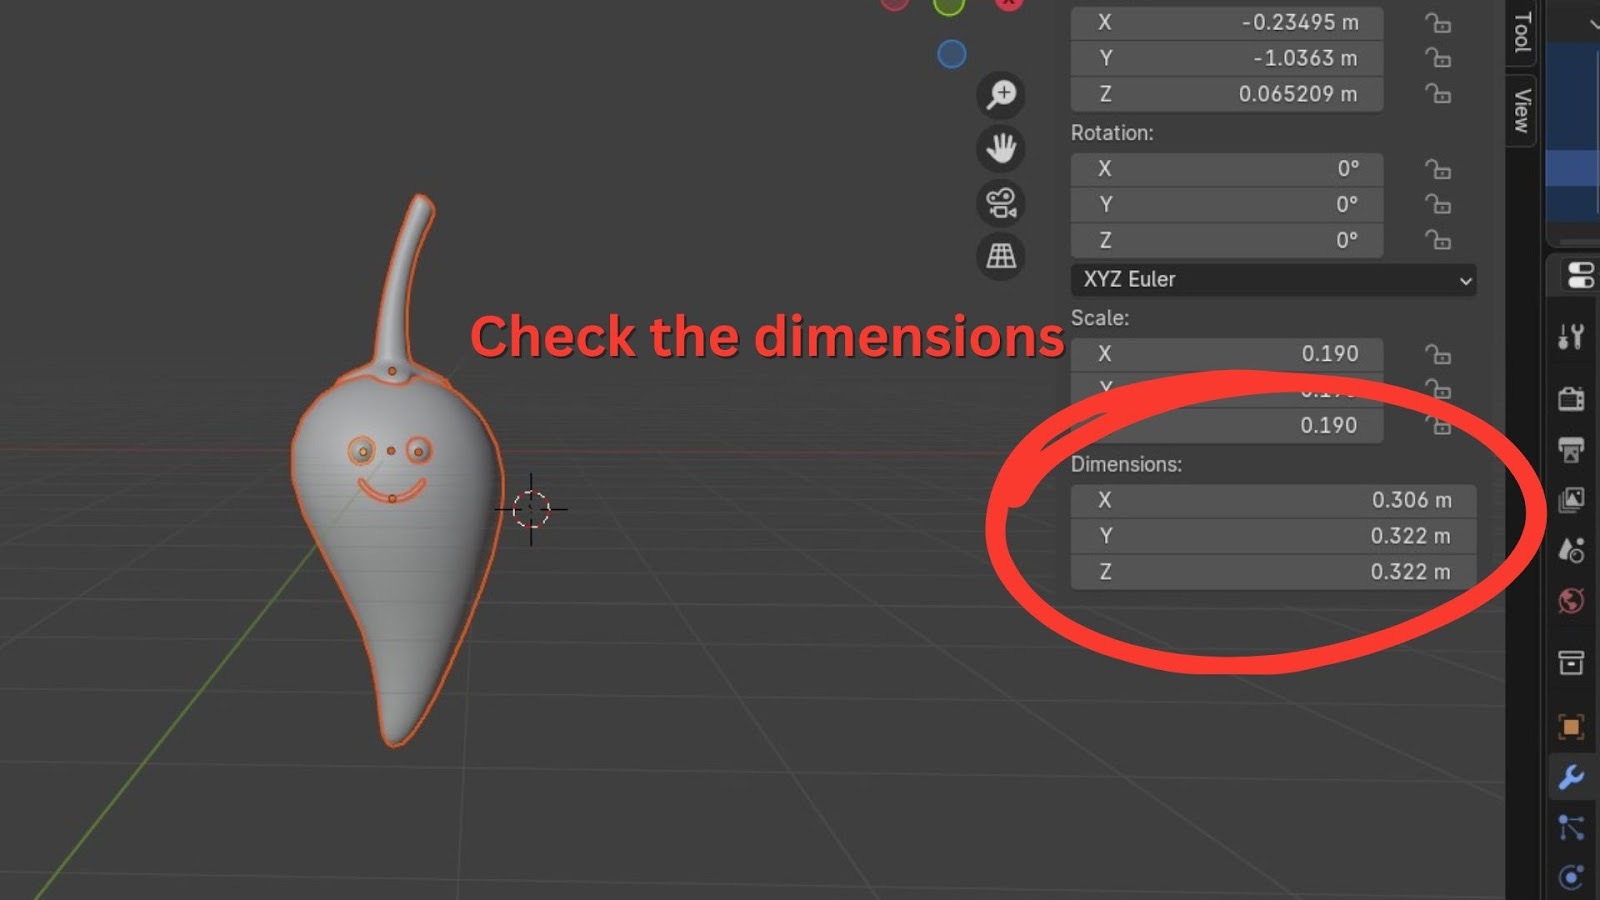
Observe the Dimensions of your selected chilli object. If it's anything like more than 10 centimetres tall, it's too big.
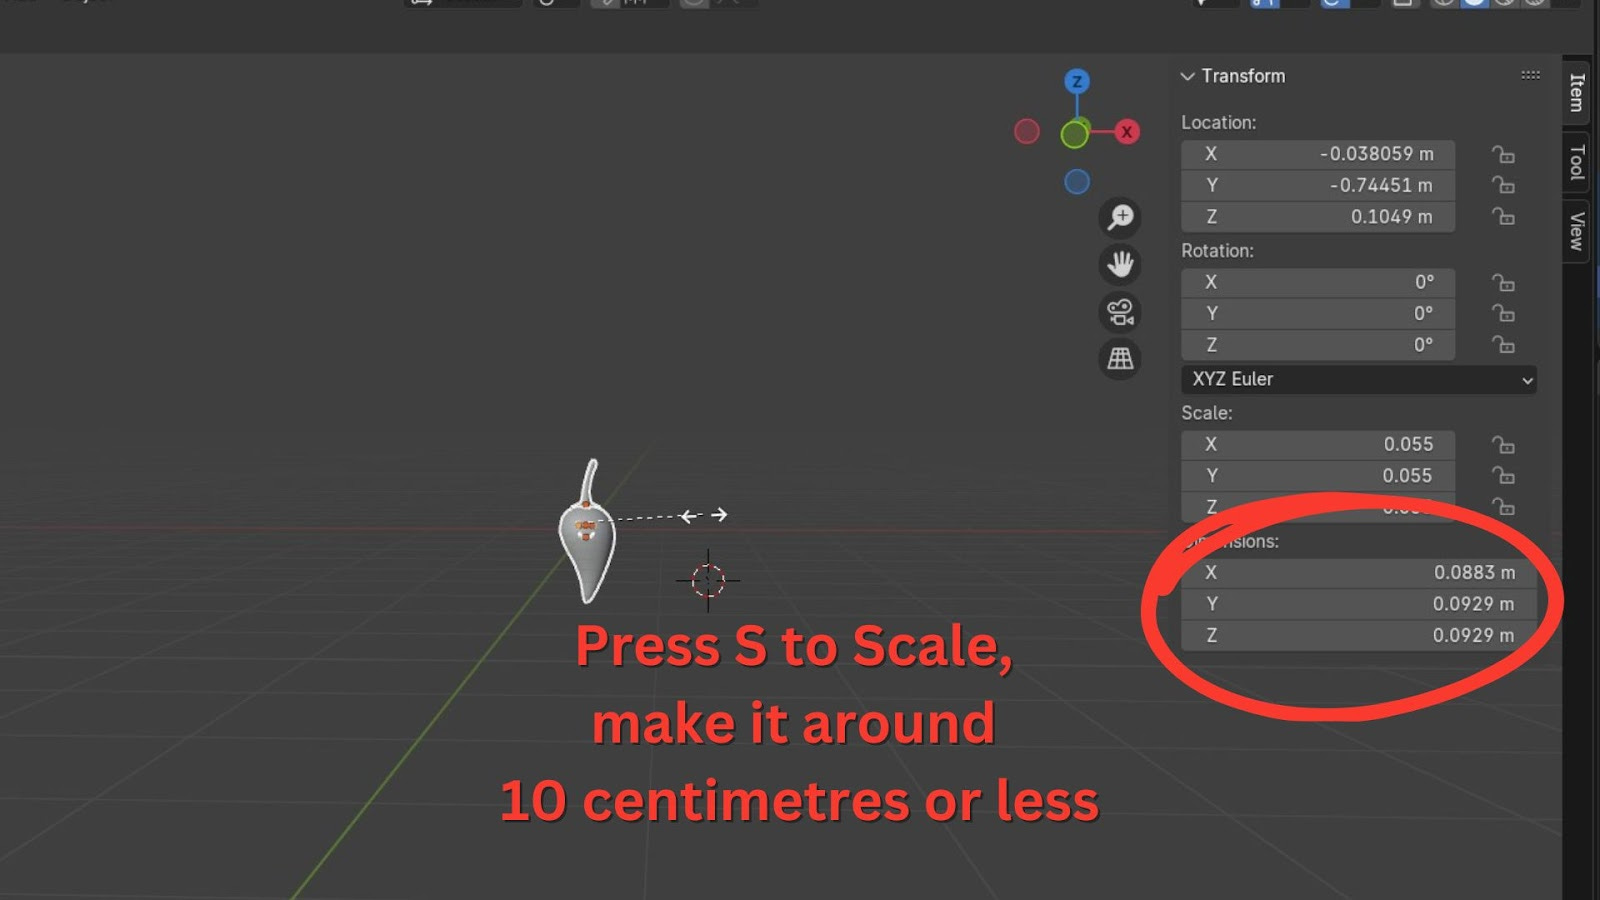
With all chilli objects still selected, press S to scale.
Drag your mouse to scale the chilli down until its height is closer to 10 centimetres. You can monitor the dimensions in the N-Panel as you scale.
Left-click to confirm the scale.
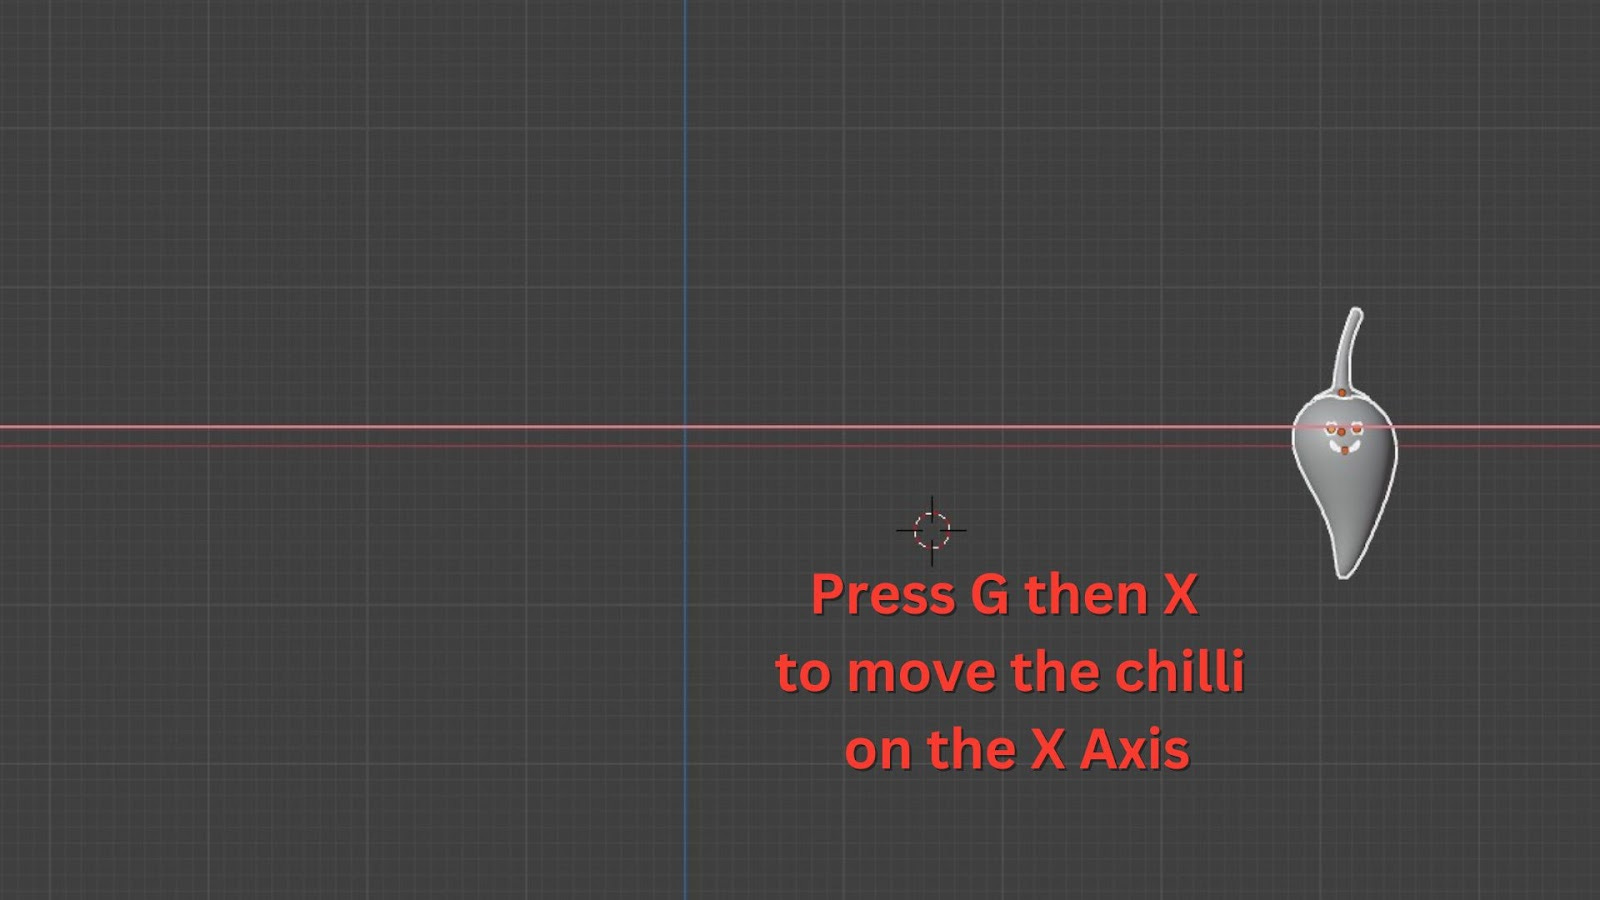
Move your chilli to the side to make room for new objects. Press G (Grab) and then X (to constrain to the X-axis) to move it.
Crafting the Plant Stem
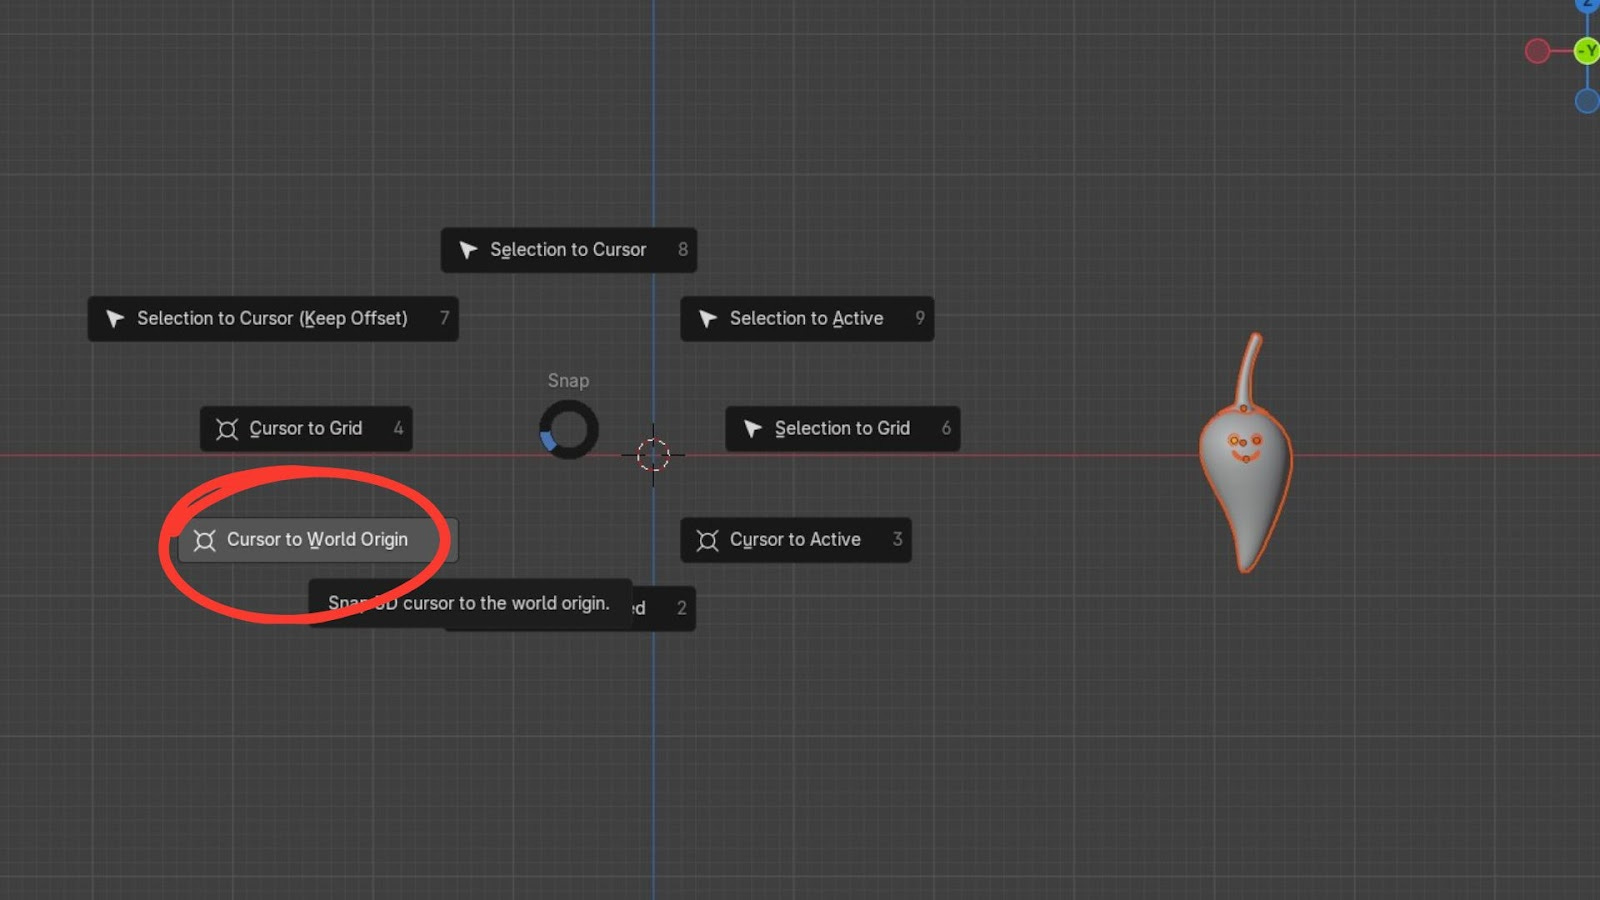
Press Shift + S and select "Cursor to World Origin" to ensure your 3D cursor is at the centre of your scene. This is where your new object will appear.
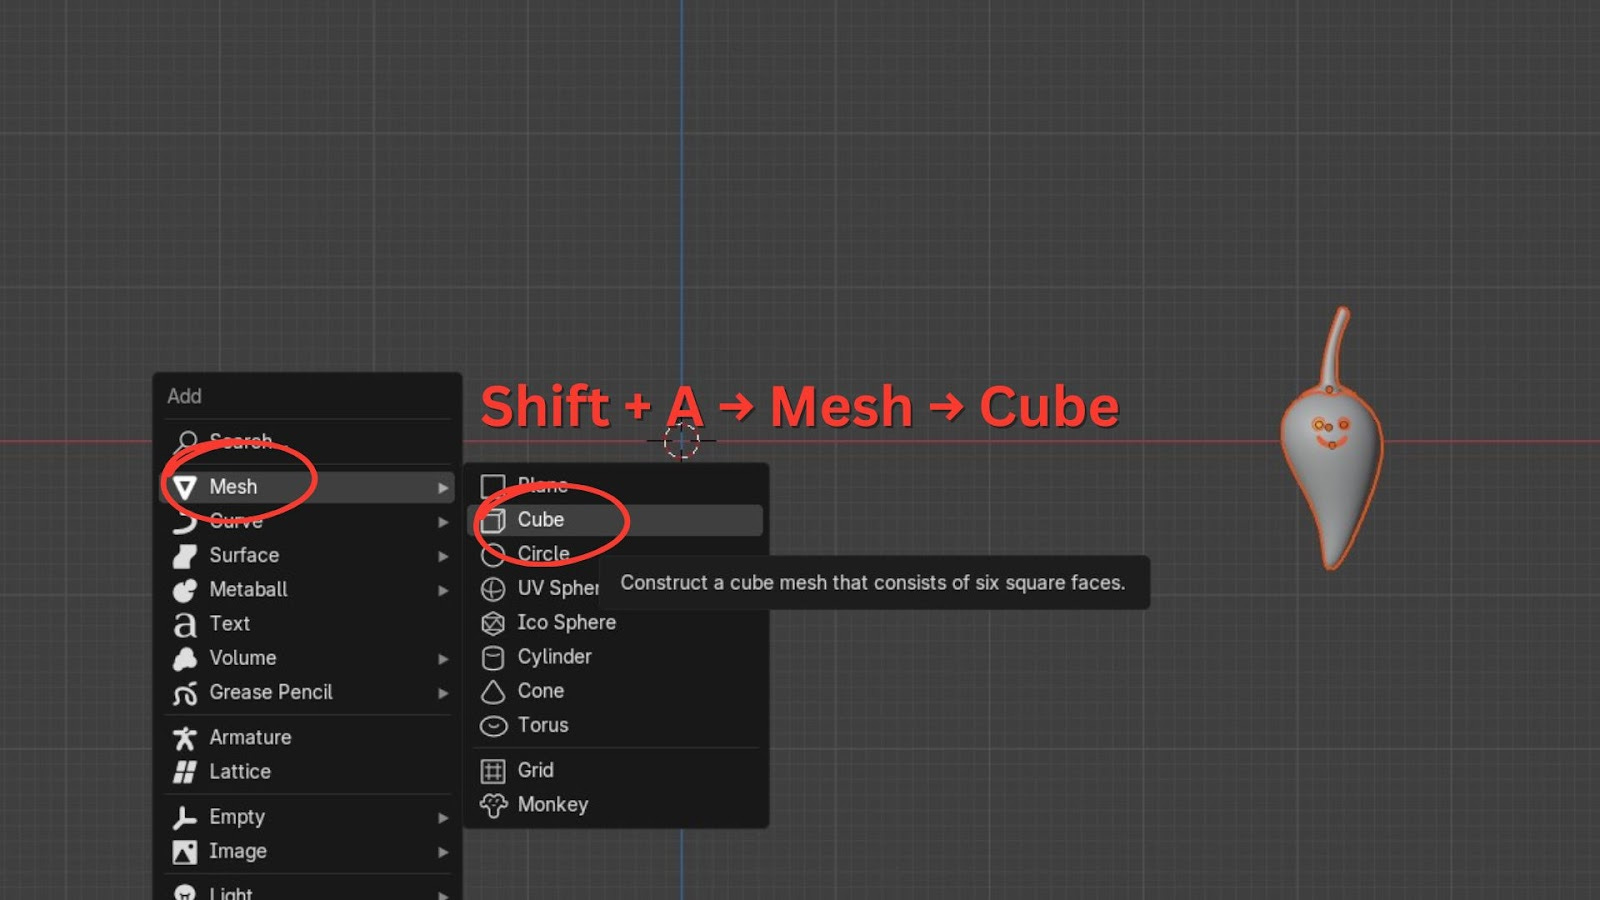
Press Shift + A to open the Add menu.
Go to Mesh and select Cube.
With the cube selected, enter Edit Mode by pressing Tab.
Ensure you are in Vertex Select mode by pressing 1 on your keyboard.

Press M to bring up the "Merge Vertices" menu.
Choose "At Center".
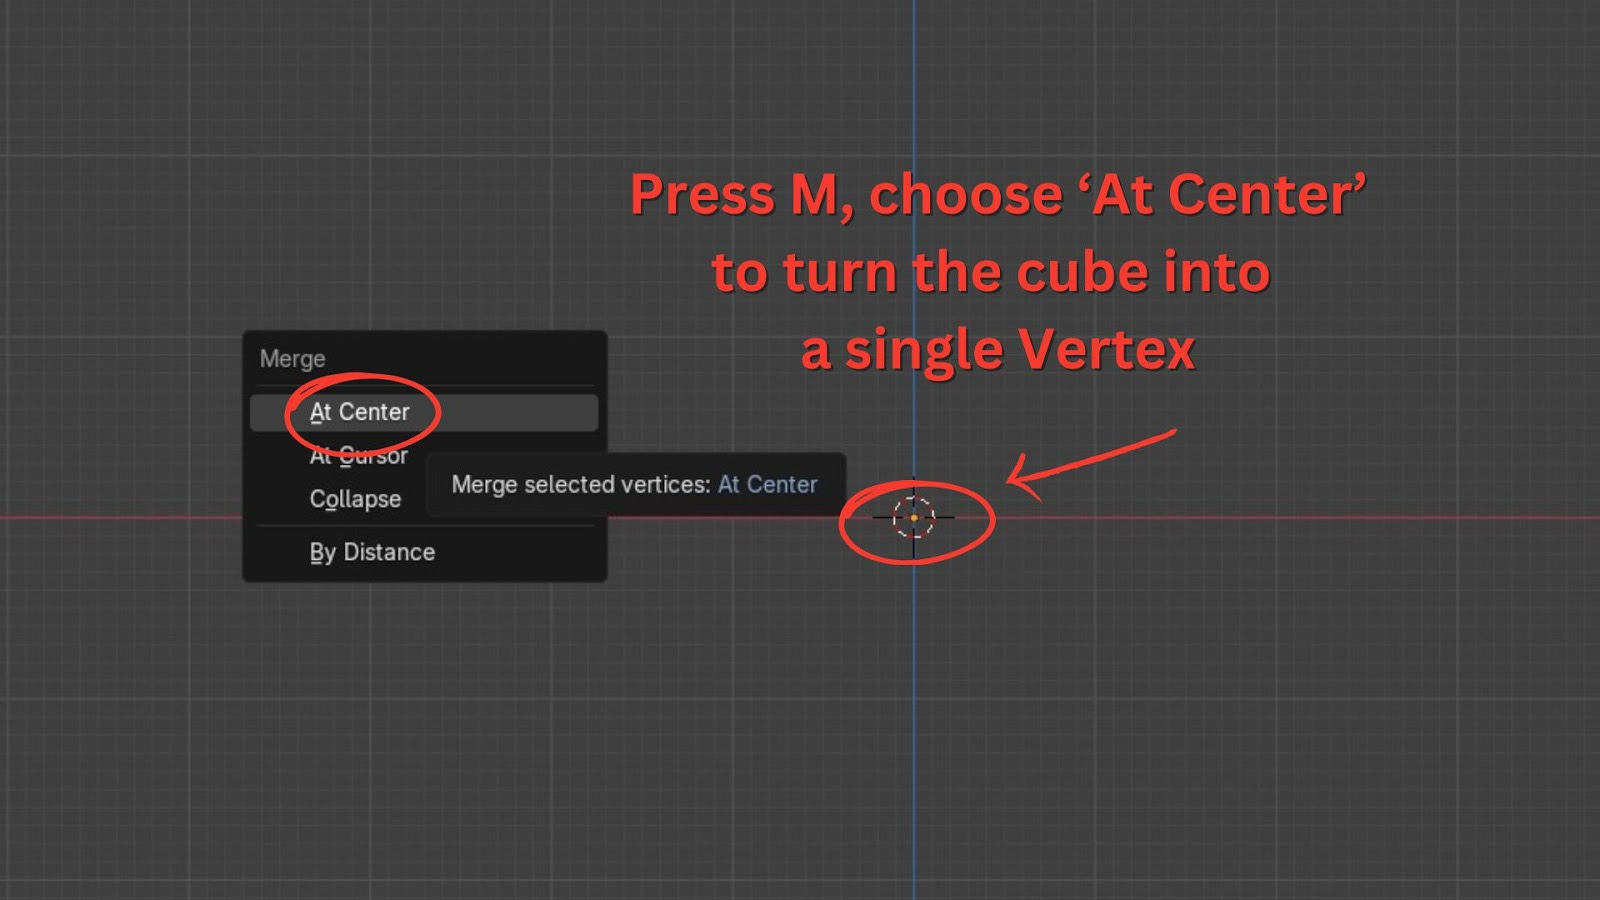
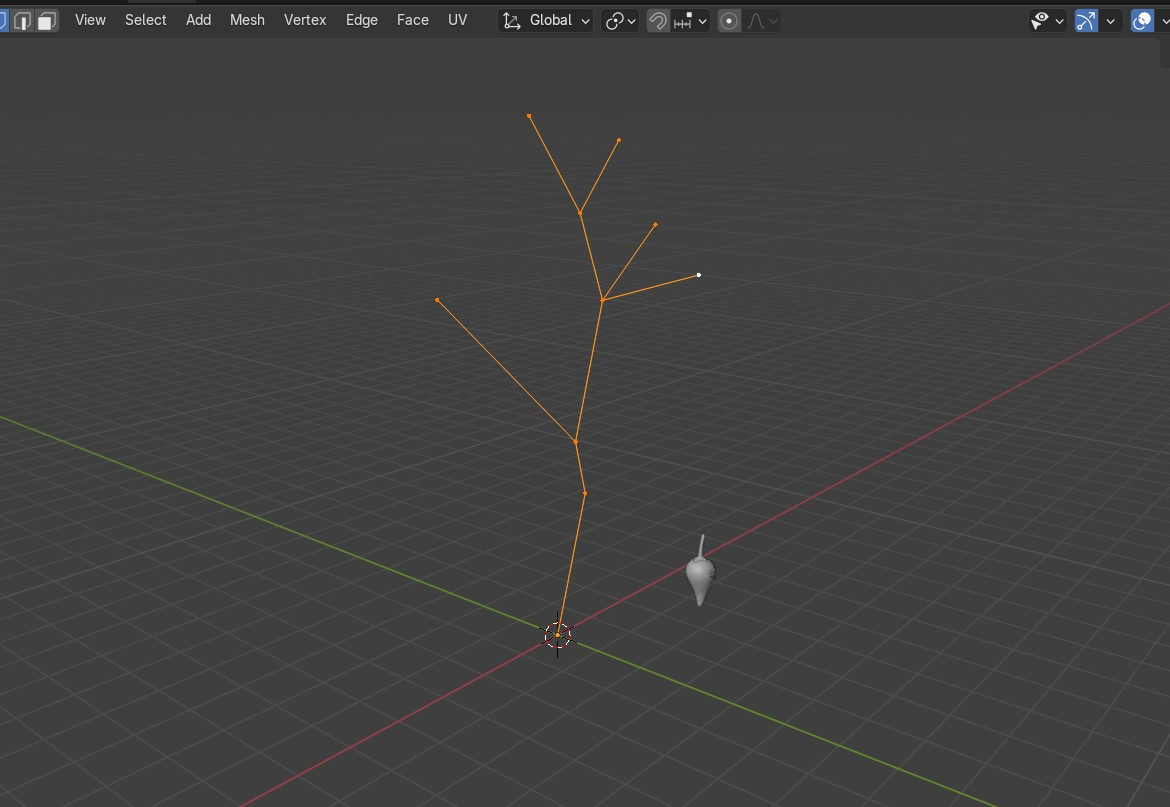
You now have a single point, or vertex, at the centre of your scene. This will be the starting point of our stem. From this single vertex, we'll extrude to create the basic shape of our stem.
Go to Front View by pressing 1 on your Numpad.
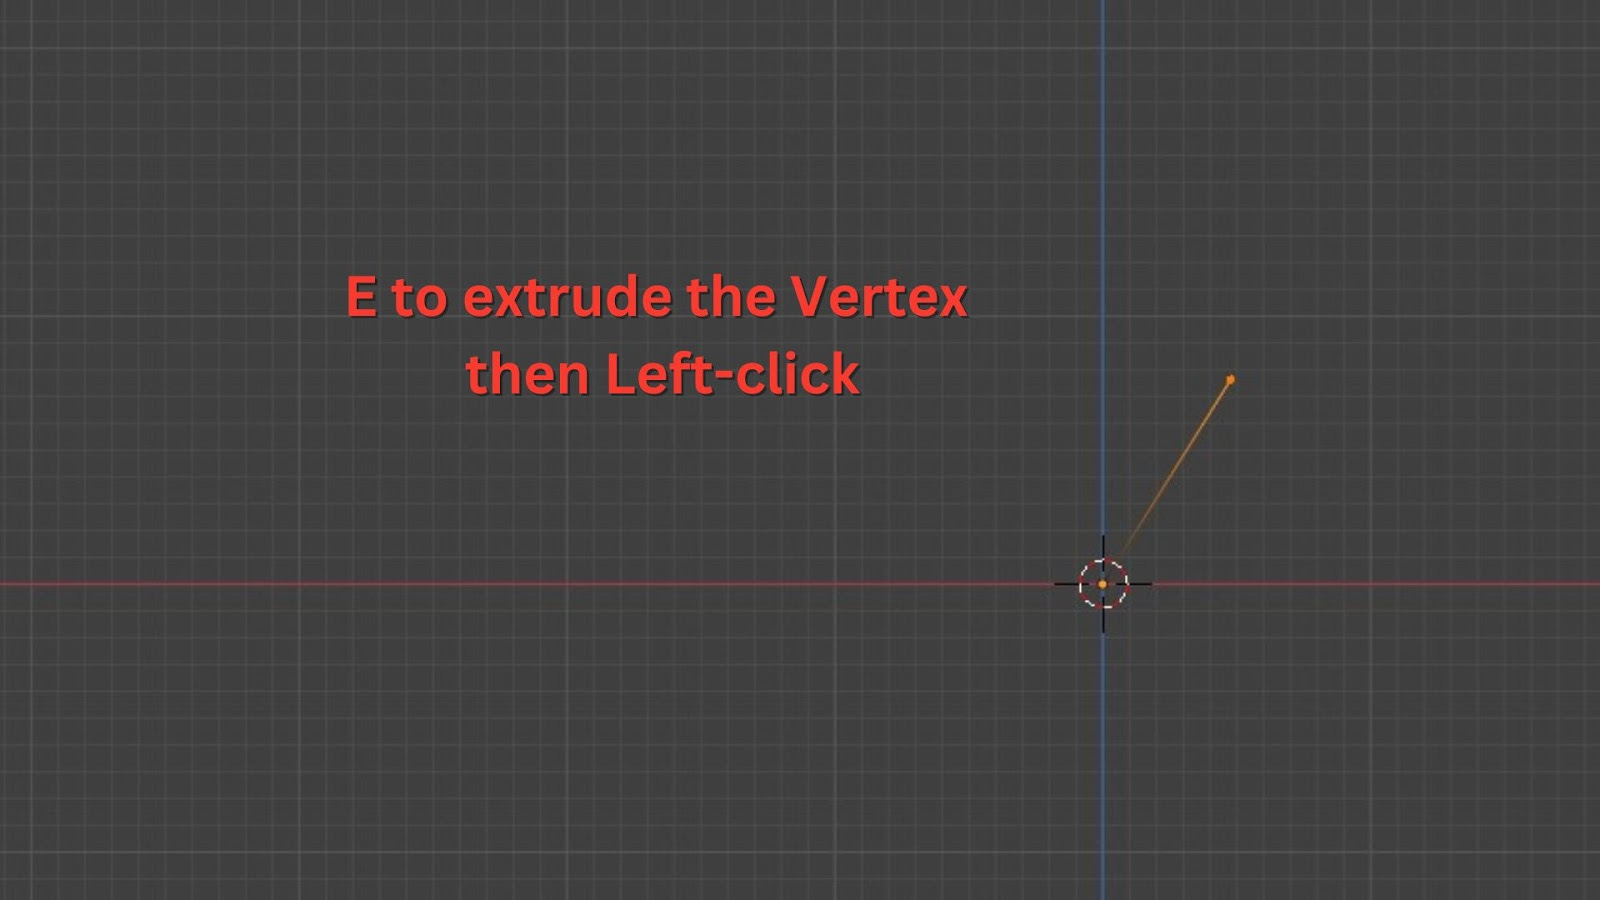
Press E to extrude. Move your mouse to create the first segment of your stem. Left-click to confirm.
Continue pressing E to extrude new segments. Move each segment to create the desired curvature and branching for your stem. Aim for a slightly varied, organic shape. Move around in the Viewport, don't just do it in Front View.